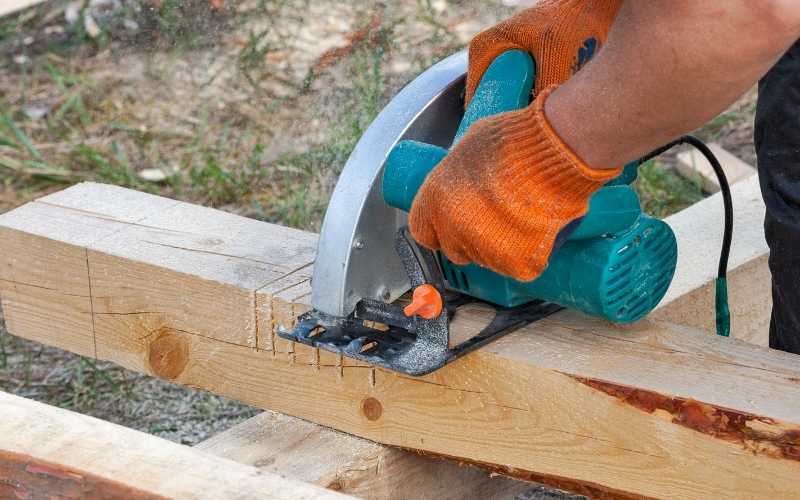
Even though they’re called circular saws, they’re not used for cutting circles or any irregular shapes for that matter. They’re for cutting straight lines.
However, making a straight cut with a circular saw can be quite tricky especially if you’re a newbie and you don’t have enough experience with the tool yet.
In this article, I’ll show you simple tips and techniques on how you can cut straight lines every time when you use your circular saw.
Table of Contents
1. Secure the wood by clamping it
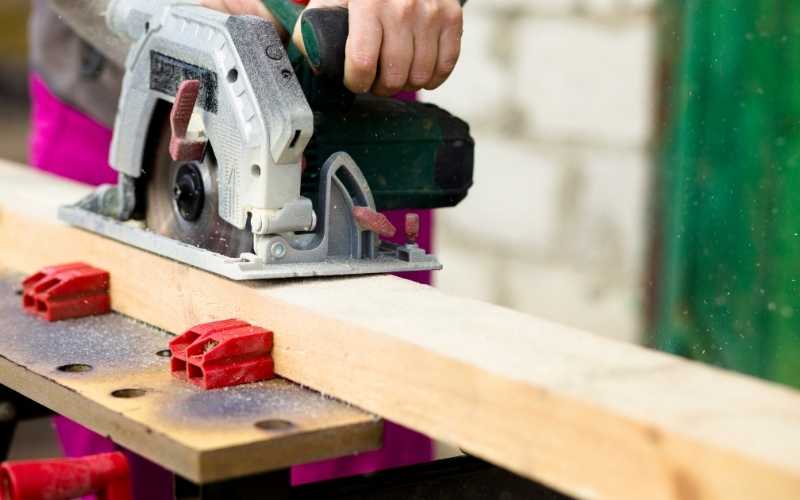
Securing or clamping the wood will allow you to stop worrying about the wood and focus on the cut.
Many a time, you can cut any wood with a circular saw without clamping it especially when you’re very experienced using the circular saw, or maybe the weight of the wood or board you’re cutting makes it almost impossible for it to shift during the cuts.
However, it’s always advisable to clamp and secure the board before making the cut. This will prevent it from shifting out of line when making the cut, and allow you maximum country of both the saw and the wood, ultimately resulting in straighter cuts.
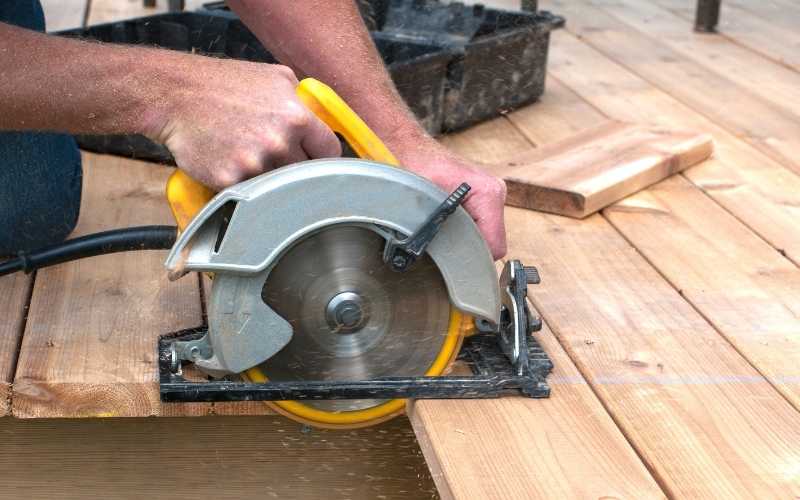
2. Hold the saw properly
There’s a right and wrong way to hold a circular saw, just like there are different types.
The way you hold it will definitely affect how the cut turns out to be.
Right hand circular saws are for righties and left hand saws are for lefties. Although not using your hand type affords you greater visibility of the cutting blade, you’re able to hold the it better without hands crossing over when you use your hand type.
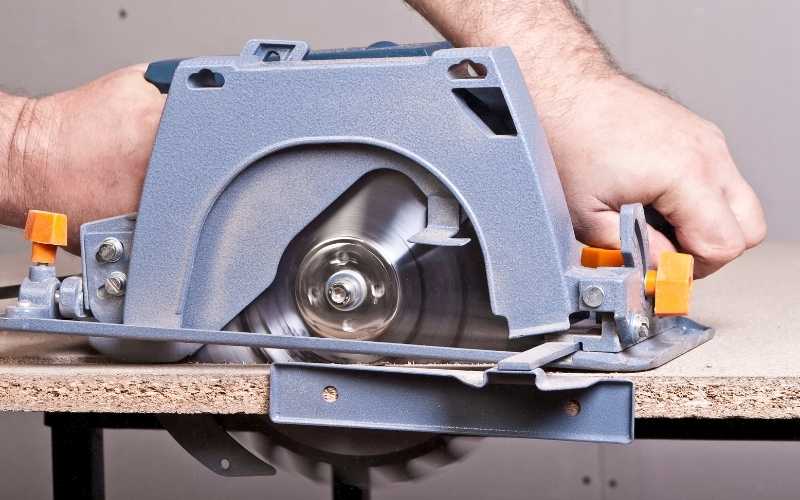
3. Set the appropriate depth of cut
The first thing you need to do if you want to make a straight and accurate cut with your circular saw is to set the correct depth of cut. Without the right depth of cut, the blade might deviate from the straight part and your cut might end up skewed.
Apart from that, not setting the right depth of cut is not very safe when making cuts.
You need to adjust the blade so that it just protrudes from the bottom of the wood you’re cutting, maybe by a quarter of an inch.
Related: The Best Skilsaw Circular Saws For Woodworking
4. Use a circular saw guide

If you’re not an experienced user, your best bet to make straight cuts every time is to use a circular saw guide like the Kreg rip-cut guide.
With a guide, you don’t have to measure and you don’t even have to draw a straight line to mark the cut line.
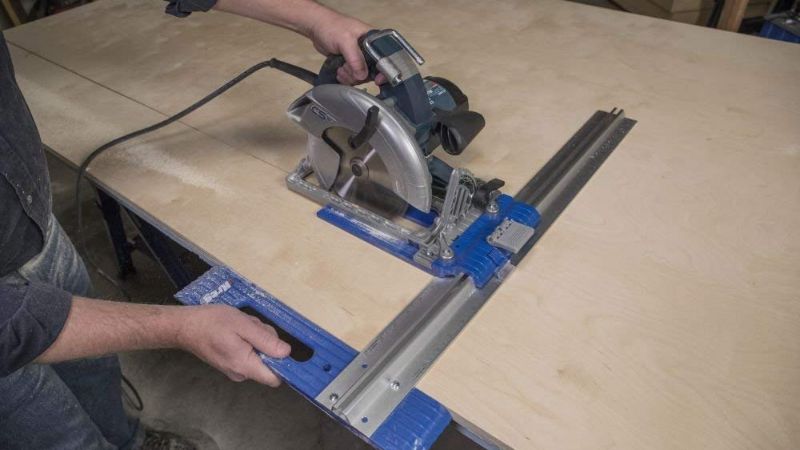
You just have to lock the Kreg reg circular saw guide on the width you want to cut and make your cut.
It’s great for making straight rip cuts, repeat cuts, and most important of all, you get to make straight cuts every time as you push the circular saw along the slide.
5. Mark the cut line
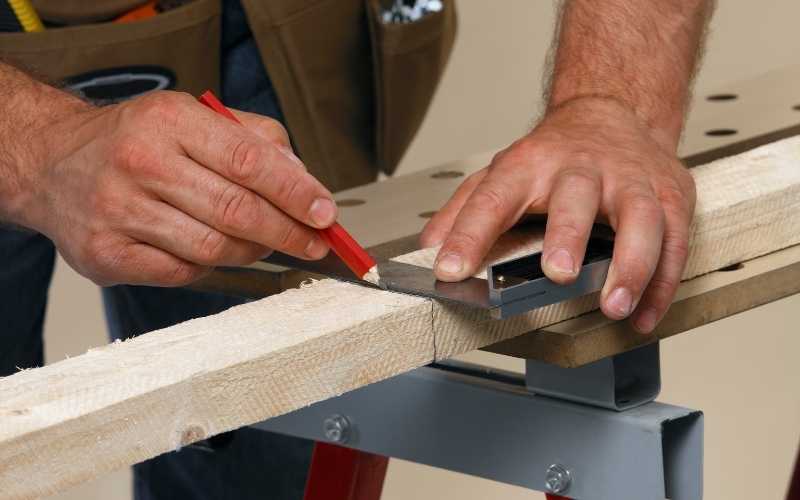
As a newbie, if you’re nervous about making a skewed cut with your circular saw and you don’t have a saw guide, one of the best ways to ensure you cut straight is to mark the part of the cut.
Just draw a simple straight line with your speed square or with another board with a straight edge on the piece you want to cut. Then you can guide your blade along that line when making the cut, and the resulting piece will be as straight as the line you drew.
6. Make Use of a sawhorse or workbench
A sawhorse or simple workbench helps elevate the workpiece from the ground, thus making the workpiece easier to access.
If you can use a sawhorse or have access to a workbench, always use it. It helps keep the board you’re cutting at an appropriate level, making it safer, easier and faster to make the cuts. As a result, you can produce cleaner and straighter cuts with your circular saw.
5. Avoid Splinters by cutting with the good side of the board facing down
The way a circular saw works is that the pointed side of the blade teeth rotates upwards from under it into the wood.
That means, if you’re cutting across the wood grain, there’re going to be splinters at the top. To avoid messing up the good side of your wood, always cut with the good side of the board facing down, so that when there are splinters at the top, they can stay hidden after assembling your work.
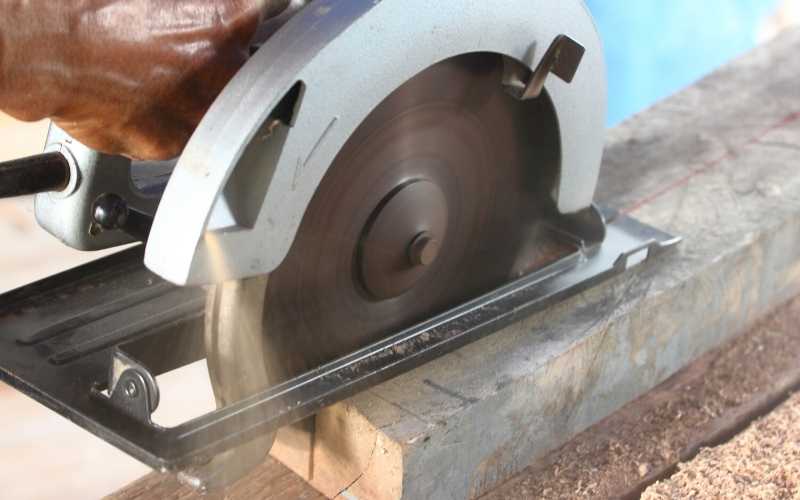
6. Allow the circular saw blade to come to full speed before making your cut
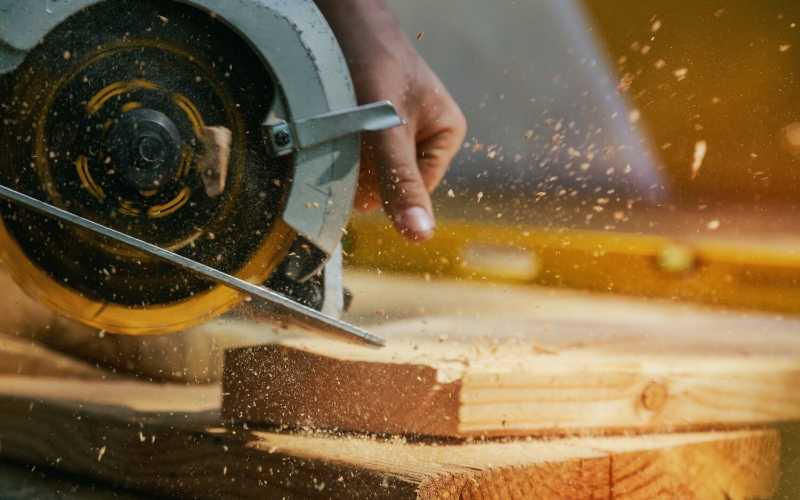
This is a very important step you need to take before making any type of cut. Once you compress the saw trigger, allow the blade to come to full speed before bringing the blade in contact with the wood you’re cutting.
If not, the blade will make a mess on the edge of the wood on its way through the wood. So, always let the blade come to full speed before making your cut.
7. Don’t forget safety
Even though making straight cuts is very important to make beautiful works in your workshop or jobsite, safety is even more important.
So, observe all the circular saw safety rules, and wear the required protective equipment like safety goggles to protect your eyes from sawdust and debris while using your carrying out your projects.
Follow the above steps, and you’ll make straight cuts with your circular saw every time.