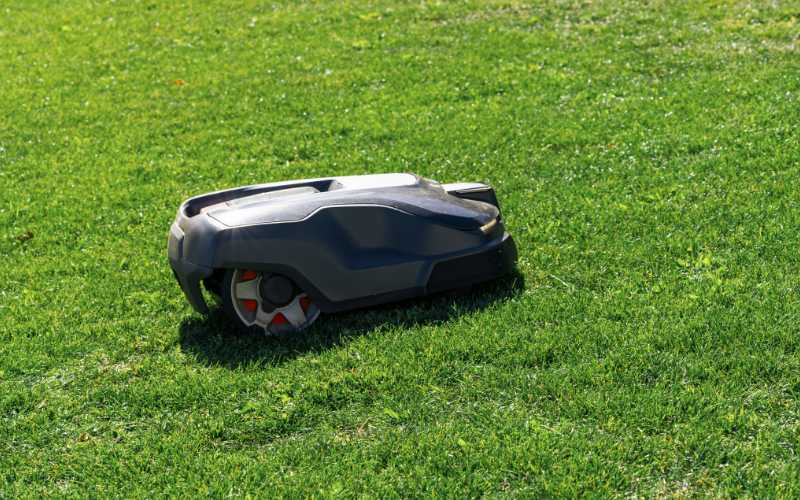
The Automower is just Husqvarna’s own model of the currently highly coveted robotic lawn mowers.
If you like your lawn or yard grass to be perfectly cut, well-kept and healthy but you no longer have the time to do the cutting or mowing by yourself, then getting a robotic lawn mower like this Husqvarna Automower might just be the solution you’ve been searching for.
Robotic mowing technology and innovation is improving day in day out, and after investing more than 20 years in its research, Husqvarna believes the Automower is the solution you need to take care of your lawn without doing the job manually or even hiring professionals to do it.
Well, before you make the decision of getting one, here’s what you need to know about it.
Table of Contents
How it works
Ever wonder how robotic mowers like this Husqvarna automower is possible? Why it won’t wander out of your lawn into the road or driveway or even your neighbor’s lawn?
Well, the way it works is that the unit comes with some guide wires which have to be installed on your lawn before setting the equipment to work.
These guide wires are installed in the boundaries of your yard or wherever you don’t want the machine to go beyond such as around gutters and dishes that may be in your lawn.
Once installed, you can program it to mow your lawn at specific times using the phone app that comes with it.
The Automower will mow your lawn but will not go beyond the boundary wires that you or a professional from Husqvarna has installed.
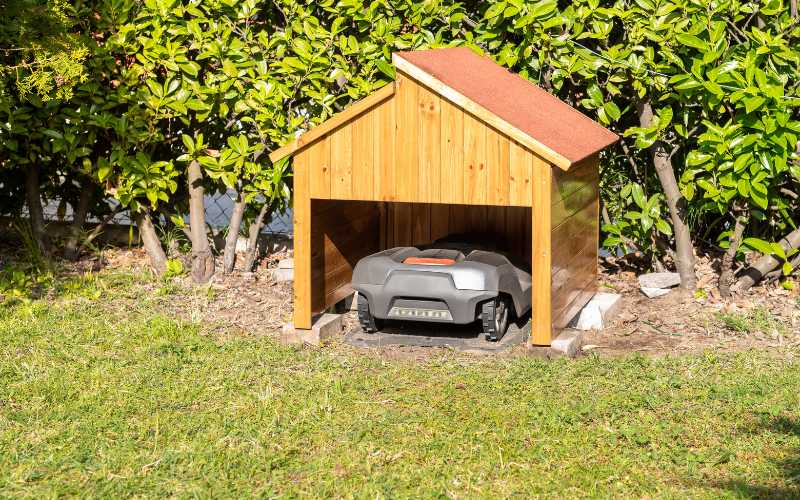
A charging station is also installed which allows it to recharge itself automatically and return to mowing your lawn once recharged.
You just have to install it once, and the Automower does the rest.
1. There are different models you can choose from
The first thing you need to know about the Husqvarna Automower is that there’re different models of this robotic lawn assistant you can choose from.
These models include the Husqvarna 115H, 310, 315, 315X, 430X and a 430XH.
Each of these models or versions perform the same function of mowing your lawn by themselves, but each has its own set of features and capacity in terms of the size of lawn they can tackle.
For instance, the 115H, 310 and 315 makes use of Bluetooth to connect the phone app to the Automower robot, while the 315X, 430X and the 430XH makes use of cellular connection.
The 315X, 430X and the 430XH all have GPS tracking. This ensures you can locate it wherever it is, especially if it’s stolen. Whereas, the 115H, 310 and the 315 models don’t have the GPS tracking feature.
The higher models also takes less time to charge even though they have a higher battery capacity, and thus work longer on a single charge than the lower models.
They also differ in physical size and the size of lawn they can handle.
So, all you have to do is look through the features and specs of each one of them to determine the one suitable for your lawn care needs.
2. It is weather resistant
Once set up, the machine will mow whether there’s rain or sunshine. All you have to do is program the times you want it to start mowing in the Automower connect app that comes with it, and it will start mowing at the times you’ve set even if there’s rain at that time.
3. Consider your lawn or yard size
The unit will not handle all lawn sizes. If you have a very large lawn, then it’s probably advisable that you get a larger gas powered lawn mower or you can get more than one Automowers to cover different portions of the yard.
4. You might need a professional to install it
The way the Husqvarna automower works makes it ideal that you get a professional (from Husqvarna) to install it for you for optimal performance.
Of course, you can install it yourself if you really know a lot about machinery like this, or you just prefer the DIY approach.
The movement of the machine is controlled by means of guide wires which needs to be installed properly to prevent it from driving itself out of your lawn or into a bad spot like a gutter where it might get stuck.
These guide wires also ensure it is able to return to its charging station once the battery is running low.
Needless to say, having a professional install it will ensure the smooth working of your robotic lawn mower.
5. It’s quite expensive, but
The Husqvarna automower is definitely going to set you back a bit. But if you ask me if it’s worth the price, I’d answer yes.
Considering all the time, effort and maybe money it will save you in the long run, getting it is a no-brainer.
Think about it, instead of spending time and energy pushing a regular lawn mower, or even riding a ride-on mower through your yard, you get to sit back in the house, drink some coffee, relax, go to work or even travel with the rest of mind that a robotic mower is keeping your lawn neat and perfect just the way you like it.
How to install the Husqvarna Automower
When you buy the Husqvarna Automower, you can either arrange for a professional from Husqvarna to take care of the installation for you, or you can go the DIY route.
Here’s how to install it by yourself if you decide to go the DIY route.
As already mentioned above, the whole unit basically has 3 parts. The mower, the charging station and boundary wires.
If the grass on your lawn is taller than four inches, it’s recommended that you cut it with a regular lawn mower one last time before installing the Automower.
Step 1: Place the charging station
Find a suitable free space at the edge of your lawn and place the charging station on it. The space has to be flat to make it easy for the unit to dock in the charging station.
It also has to be within 50 ft of a power outlet, protected from the weather and out of reach of sprinklers to protect the power supply adaptor.
Step 2: Charge the battery
The battery that comes with the unit does not come pre-charged from the factory. That is why the second step is to charge the battery by docking the Automower in the charging station. This will take 80 to 100 minutes as the battery is empty.
Step 3: Install the boundary wire
Define the area you want the machine to cut by laying the boundary wire around it. This you can simply do by using the special clip nails that come enclosed in the package.
Also lay these boundary wires around flowerbeds, swimming pools and bushes to prevent the robotic mower from running into them.
If installed correctly, it will turn and change direction anywhere it runs over a boundary wire. The unit is designed to stop working if the boundary wire gets damaged. It will continue working again when the wire is amended.
Step 4: Install the guide wire
The next step is to lay the guide wire. The guide wire helps to lead the Automower back to the charging station when the battery runs low.
Just connect one end of the guide wire to the charging station and install the rest of the wire across the longest part of your lawn to make it easy for the unit to find it and follow it back to the charging station.
After that, connect the other end of the wire to the boundary wire where they intersect.
Finally, connect the guide wire and the boundary wire to the charging station, and your work is done.
Step 5: Set up the Automower for work
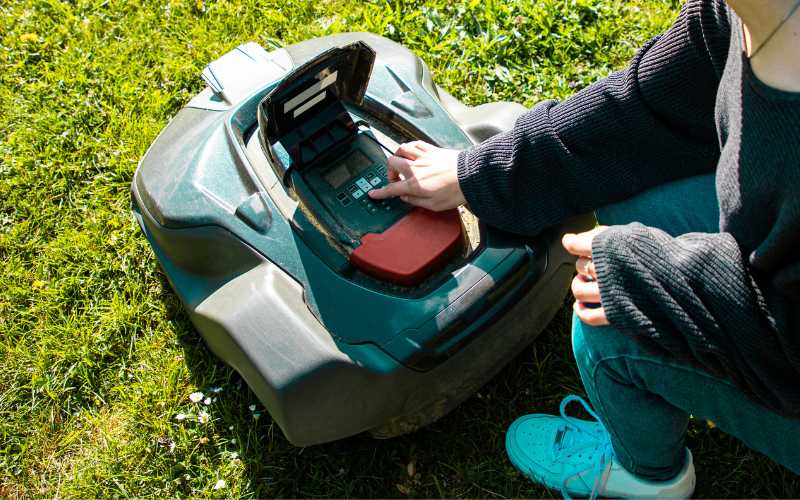
After step 4, all the major work is done. Now you just need to turn on your Husqvarna Automower and select a personal 4-digit pin.
Adjust the cutting height you prefer and set the work hours. Now you can go ahead and pour yourself a cup of coffee and relax.
Your robotic mower will charge until it’s ready and it will begin mowing your lawn all by itself. No further work is needed on your part. You now have a standby robotic lawn mower that will keep your lawn in tip-top condition without your intervention.