Drywall installation and finishing is one of those tasks you can carry out yourself if you’re keen on DIY. All you need is the will to do the job, the know-how and the tools required for the installation and finishing.
When it comes to the know-how, drywall installation is relatively easy, especially when compared to traditional plaster methods which takes more time and effort.
It can be attached easily and quickly to wall studs or ceiling joists, reducing construction time and labor costs.
As for the tools you need, that’s what we’re going to be talking about in this article. Whether you’re starting from scratch with a new construction project or giving a fresh look to an existing room in your home, it’s very essential that you know all the tools required, and what they’re used for.
We’ve covered all the tools you need from the initial stages of cutting and hanging the drywall sheets to the intricate process of taping, mudding, and finishing.
Whether you’re a seasoned a season pro or a beginner eager to learn the ropes, our guide is designed to provide insights that will empower you to tackle your drywall project with confidence.
Table of Contents
Drywall Cutting and Hanging Tools
The following are the tools you’ll need to cut and hang drywall sheets.
Box Cutter or Utility Knife
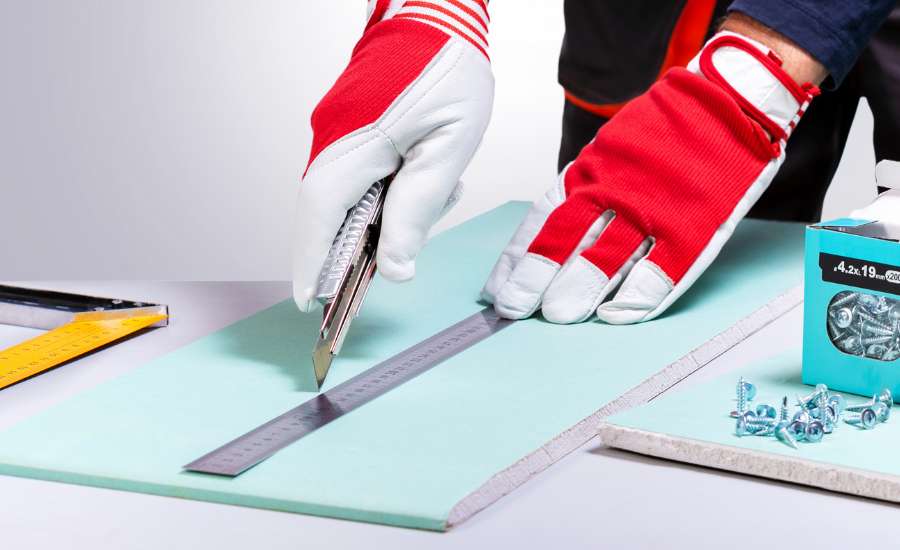
Drywall come in sheets. So, you need to cut them to size in order to fit walls and ceilings you’re trying to cover.
Unlike wood, it’s not that hard to cut. All you need is a box cutter or utility knife. You can use it to trim the drywall sheet to fit the dimensions of the wall or ceiling you’re installing them on. A utility knife’s sharp blade allows for precise cuts along the gypsum core, creating clean edges.
Note that you don’t have to cut all the way through the sheet. Just score the paper surface along the desired cutting line, then gently bend the sheet along the scored line, and it will snap precisely along the line you scored with the knife. This method is especially useful when cutting larger sheets of drywall.
You also need a utility knife to trim the edges of the drywall after hanging it if there’s excess paper or gypsum protruding from the sides.
Holes for electrical outlets, switches, or other fixtures also needs to be cut through the drywall, and a utility knife allows you to get that done easily as well.
T-Square
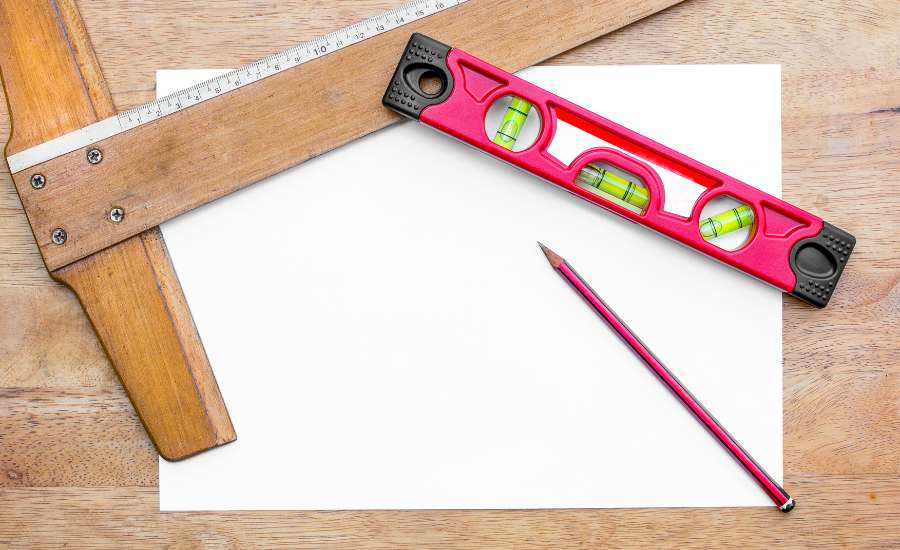
T-Squares are particularly useful when cutting large sheets of material like drywall. The long arm of the T-square rests along the edge of the sheet, while the perpendicular arm is used as a guide for the utility knife or cutting tool.
This ensures that the cut line is perfectly perpendicular to the edge of the drywall, resulting in a clean and precise cuts. Although not absolutely required for making cuts, using a T-square provides a consistent reference point for all cuts, ensuring uniformity throughout the installation process.
Drywall Saw
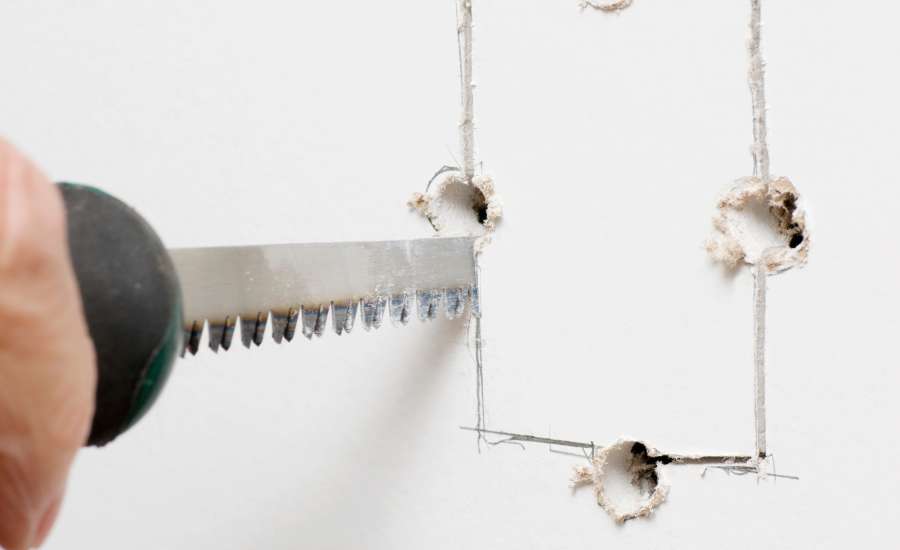
A drywall saw, also known as a jab saw or keyhole saw, is the ideal tool designed for cutting holes and openings into drywall sheets during or after installation.
It features a narrow blade with sharp teeth that allow it to easily cut through drywall sheets, creating openings for electrical boxes, plumbing fixtures, access panels, attic entrances, or other points of entry behind walls or ceilings.
You can also use it to create notches in the drywall to fit around obstructions such as pipes or ductwork.
Cordless Drill
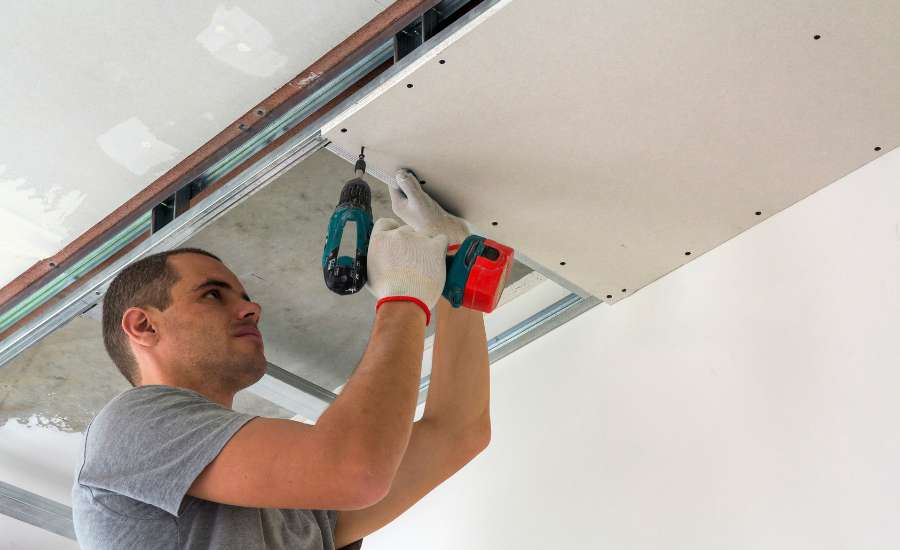
Although you can use nails to fasten drywall to studs and joists, it’s often better and safer to use screws. Screws provide better holding power, so the drywall don’t pull of the walls or ceiling.
To drive these screws, you need a cordless drill. Cordless drills offer speed and efficiency in screw installation compared to manual screwdrivers.
Try to use a cordless drill with adjustable clutch settings so you don’t over-tighten the screw and damage the drywall.
Drywall Screw Gun
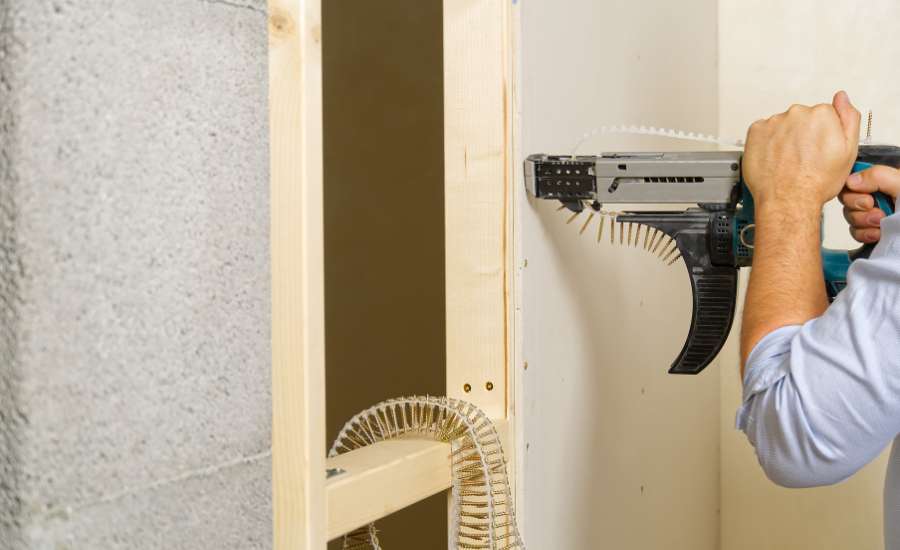
The primary purpose of a drywall screw gun is to streamline the process of attaching the drywall sheets to wall studs or ceiling joists by automating the screw-driving process.
Although you can use a cordless drill to drive the screws, it’s faster and more efficient to use a screw gun, because with the screw gun and its attachment, you don’t have to manually load the screws one by one.
All you have to do is hold the drywall in place, place the screw gun tip on the spot, and drive in the screw, all in one operation. The collated screw magazine that comes with some screw guns eliminates the need to manually load screws into the tool for each installation.
Drywall Hammer
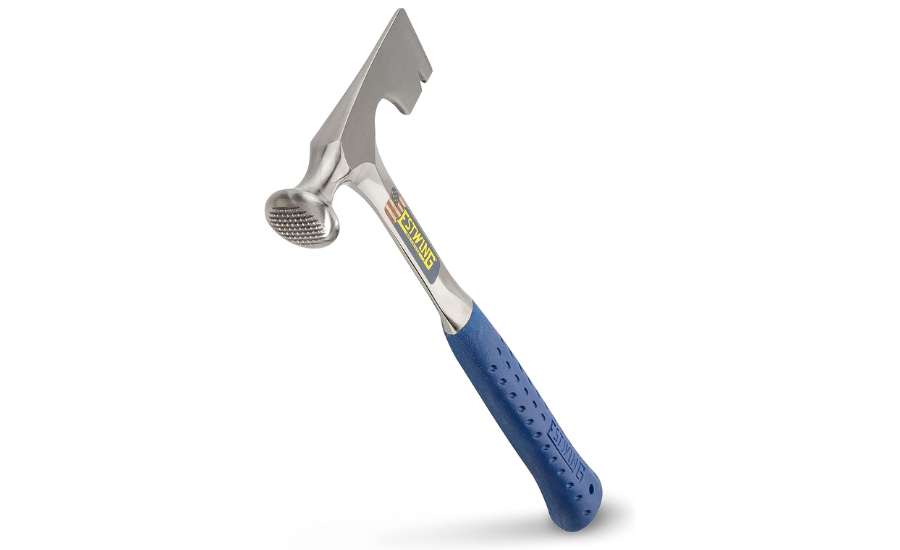
Although it looks like a regular hammer, a drywall hammer features unique characteristics that helps professionals and DIY enthusiasts work with drywall sheets effectively.
The first feature that distinguishes it from a regular hammer is that it has a wider beveled edge, so you don’t easily miss the nail when striking and puncture through the drywall.
It also has a serrated face which is also designed so that it doesn’t slip when it strikes the nail.
The drywall hammer also has an axe edge you can use instead of a utility knife to score the drywall sheet wherever you want to cut through, and snap it in half.
Drywall Lift
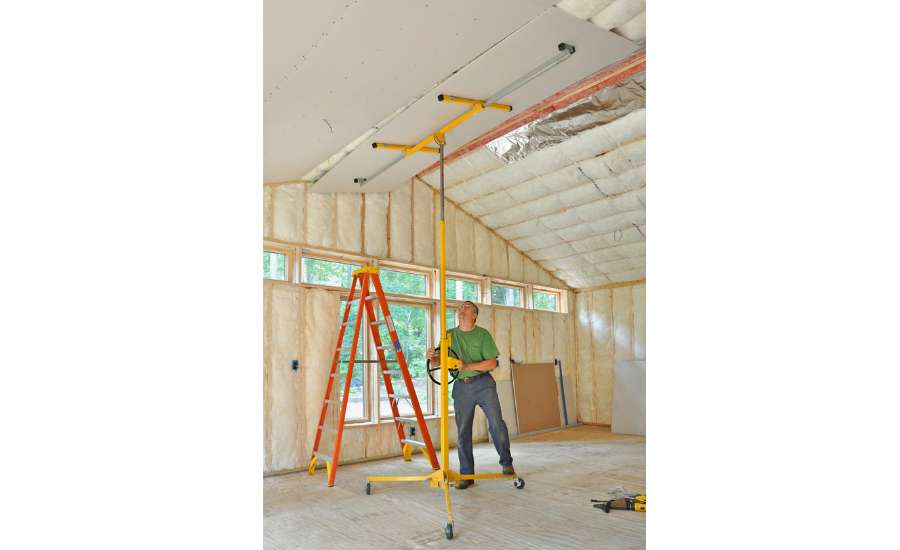
A drywall lift is an equipment used for holding and lifting heavy drywall sheets from the ground to the desired height for installation on walls or ceilings.
This eliminates the need for multiple people to hold and position the heavy sheets manually. With the lift, you can really get to do everything yourself, especially when you don’t have anyone around to work with or if you wish to reduce labor costs.
Most lifts come equipped with tilt and swivel mechanisms that allow you to adjust the angle and orientation of the drywall sheet for easier installation in tight spaces or around obstacles.
Taping and Mudding Tools
The following are the tools you need for taping and mudding.
Drywall Taping Knife
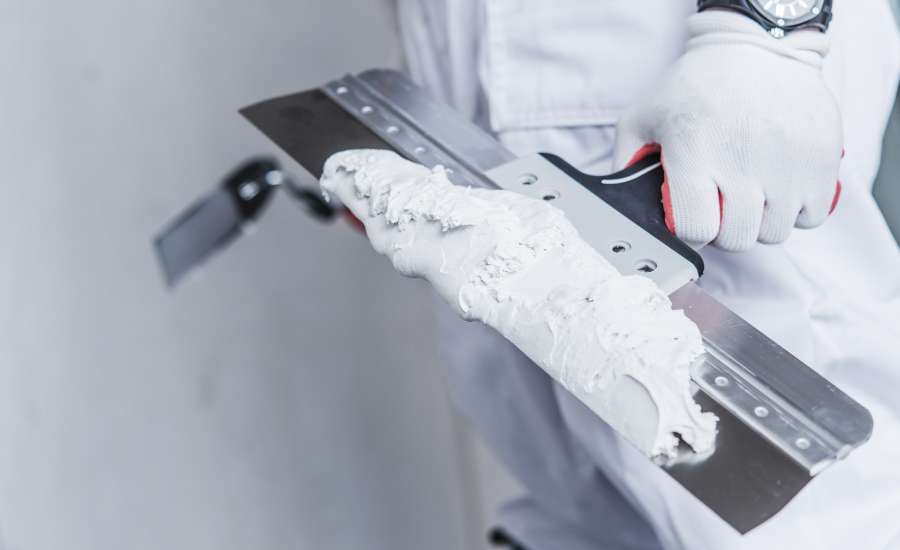
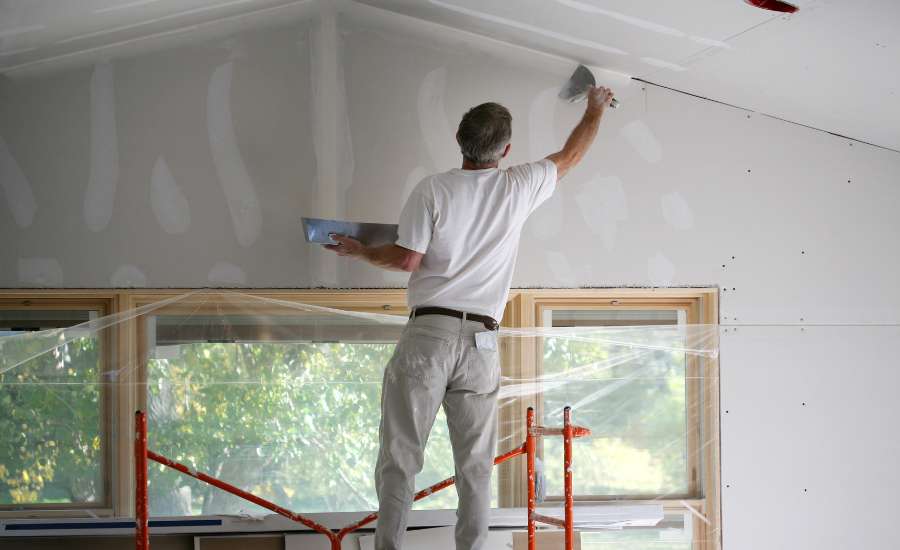
The process of taping and applying joint compound over seams, corners and other imperfections in drywall surfaces is known as “Taping and Mudding.” You need a taping knive to do both, ensuring that the compound is evenly applied and the tape is properly embedded.
Drywall taping knife or potty knife is a flat, flexible blade typically made of stainless steel or any other flexible and durable material.
Like I mentioned above, it’s what you use to tape and apply joint compound over semas, corners and every other areas on drywall that needs mud.
They’re used to feather the edges of joint compound to create smooth transitions between mudded areas and the surrounding drywall which results in a seamless and flat finish.
Inside and Outside Corner Tool
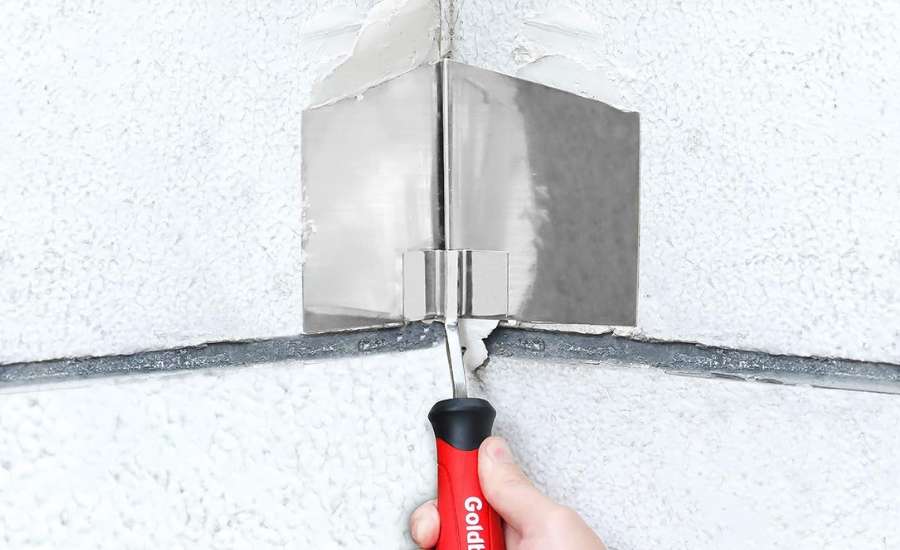
The drywall corner tool or trowell is designed specifically for applying joint compound (mud) to inside and outside corners where two drywall surfaces meet.
There are inside corner tool and outside corner tools. Both designed for creating seamless transitions between adjacent drywall sheets and providing a neat appearance to the inside and outside corners of walls and ceilings.
Joint Tape
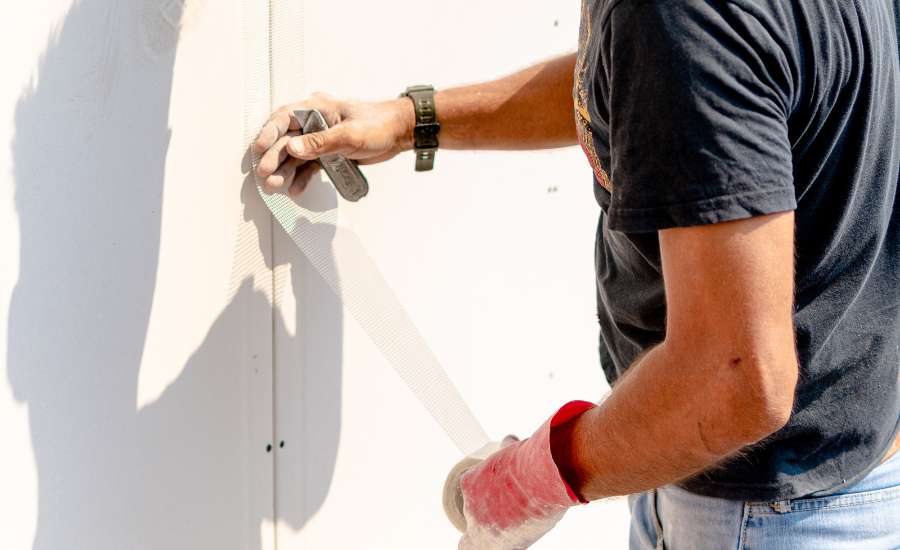
You need drywall tape to cover and reinforce the seams between two adjacent sheets. Without proper reinforcement, seams between drywall sheets can develop cracks over time due to temperature changes, building movement and settling of the joint compound. The tape prevents these cracks from forming by providing additional support to the seam.
It also creates a flat and even surface across two sheets by covering the seam and providing a consistent base for the application of joint compound.
Mud Pan
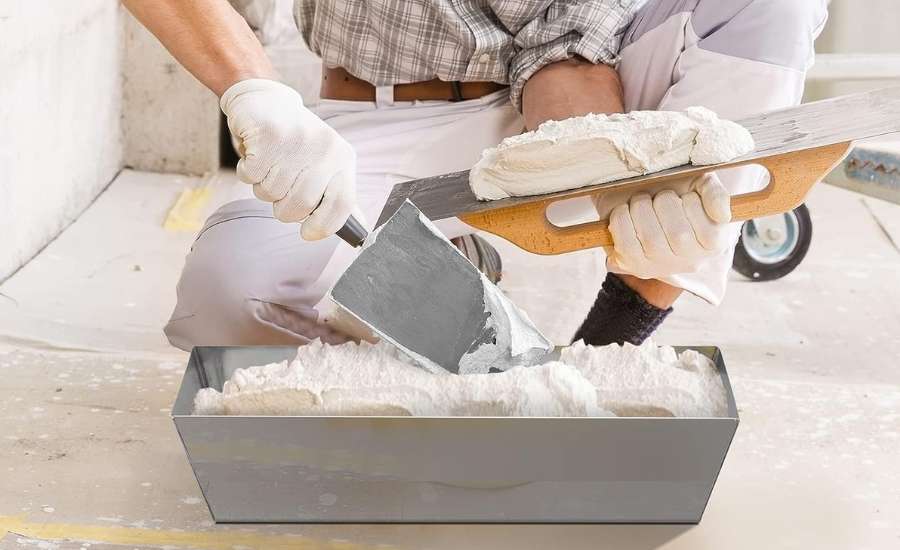
The mud pan allows you to carry a small quantity of joint compound with you so you don’t go reaching into the bucket all the time.
It also helps minimize waste because it allows you to carry just the appropriate amount of joint compound needed for the current task. This reduces the likelihood of overloading tools and wasting the mud.
The design of the mud pan with raised edges also reduces the risk of spillage, and straight edges allows you to scrape of any mud left on your taping knife.
Mud Mixer
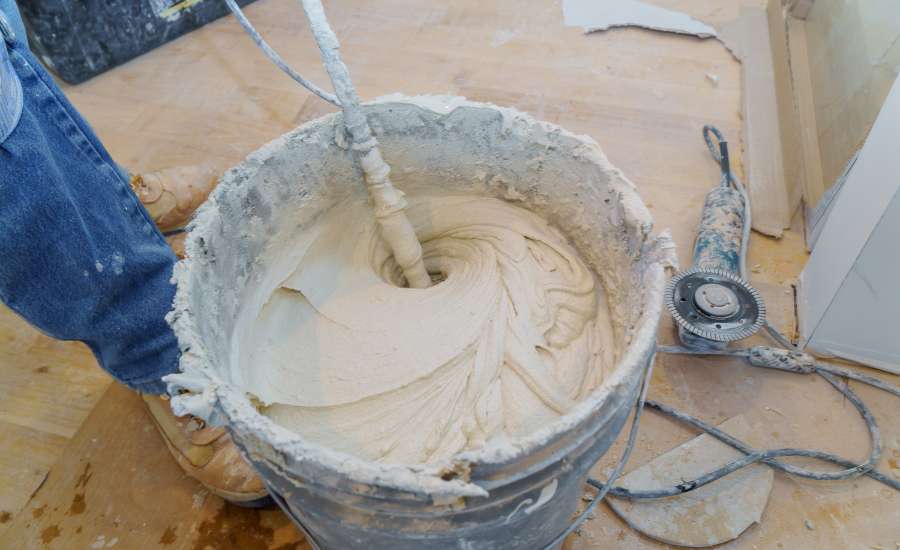
As the name implies, the mud mixer is used for mixing the joint compound. It’s often combined with a power drill to mix the joint compound, ensuring all the components are uniformly combined, preventing lumps, air bubbles and other inconsistencies that can affect the finish or appearance of the joint compound when applying it.
Finishing and Sanding Tools
The following are the finishing and sanding tools you need after installing drywall sheets.
Sanding Sponge
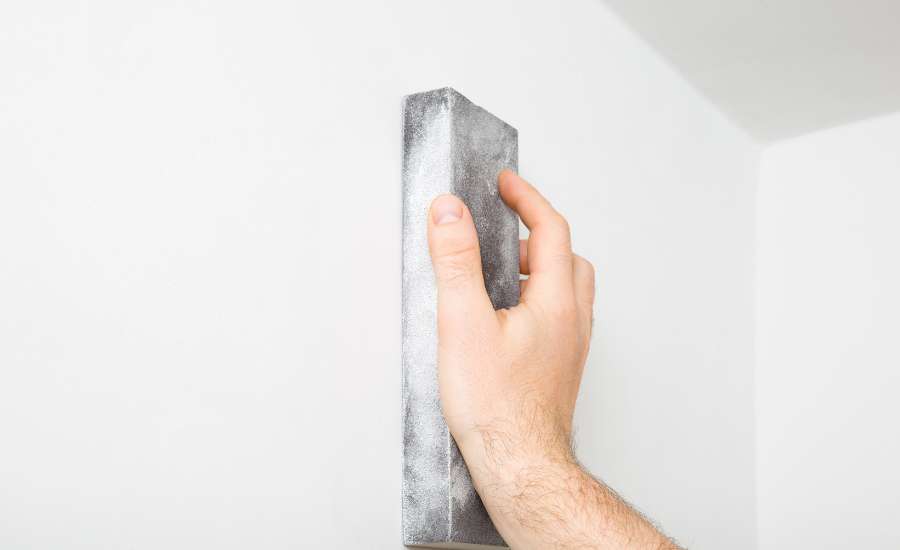
Sanding sponges are typically made of foam with an abrasive surface, and they come in various grits (levels of coarseness) to accommodate different stages of the finishing process.
You can use them to smooth and refine the surface of joint compound applied during the taping and mudding process, allowing you to produce a uniform and seamless finish.
The flexible surface of a sanding sponge makes it easy to sand inside and outside corners while maintaining a consistent angle.
They come in various grit levels, ranging from coarse to fine. You can use the coarser grits for the initial sanding and smoothing stages, while finer grits can be used to create a polish smooth surface that’s ready for priming and painting, so you get that professional finish you desire.
Pole Sander
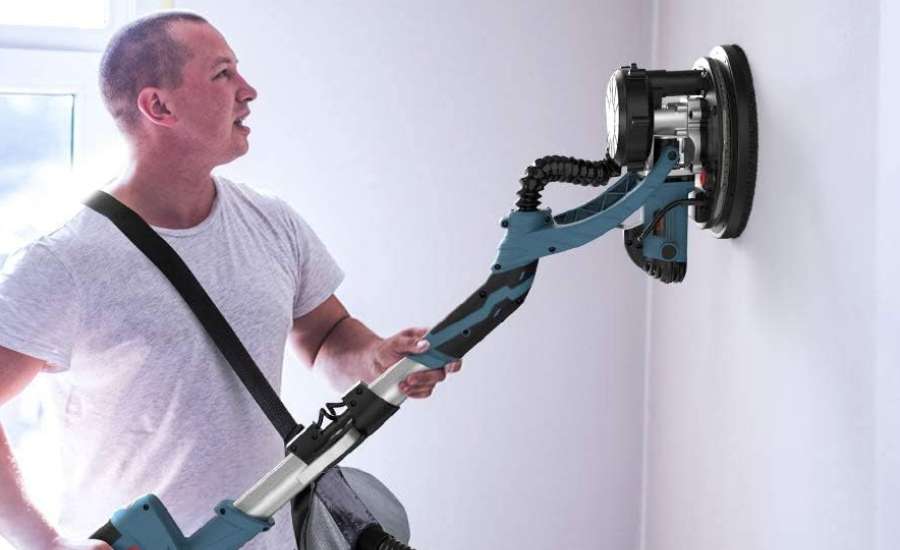
The pole sander consists of a sanding head attached to an extendable pole that allows you to sand large and high areas without using a ladder or any type of scaffolding.
It is particularly useful for sanding entire walls and ceilings in preparation for painting or other type of finish you want to apply.
Pole sanders can accommodate various grits of sandpapers so you can achieve whatever quality of finish you desire.
Sanding drywall can produce a lot of dust. That’s why most pole sanders come with built-in dust collection systems or attachments so you can collect all the dust produce, minimizing any airborne dust in your workspace.
Texture Sprayer
A texture sprayer is simply used to spray texture patterns on walls and ceilings, to add visual interest or to cover imperfections, seams, or any other irregularities on the wall.