The router tool is one of the most important tools you can find in any woodworkers workshop. If you carry out furniture or cabinet making projects on a regular basis, then you’ll find no difficulty agreeing with me.
It’s a tool with an almost limitless range of and applications. The moment you think you’ve seen everything a router can do, that’s when you start discovering even more amazing uses for it.
You don’t need to travel far away to discover this, just pay a visit to another woodworker’s workshop or do some research online and you’ll find something you’ve never done with your router.
As a beginner, once you know the uses and capabilities of this tool, you’ll wonder why it took you this long to start using one.
If you’re new to routing, I’ll start with an explanation of what the tool is and what it does.
So,
Table of Contents
What is a router tool?
Well, a router tool is simply a motor designed to spin a bit at an extremely high speed. Its main use is to rout or hollow out hard materials like wood or plastic.
That means if you’re a woodworker, you’re going to find many uses for it when carrying out your projects.
It’s a hand tool, but it can also be attached to a table known as a router table. With it attached to the table, you don’t handle the tool anymore.
All you have to do is guide your work piece or stock through the fast spinning bit protruding through a hole in the table.
Mounting the router on a table also adds more stability to the tool allowing you to carry out more detailed work with it.
Types of Router

The router tool has a single basic form of a motor spinning a cutting bit, but it comes in two main types which allow the users more control over the tool.
The two main types are fixed-base router and plunge-base router. However there’re also other styles named according to the features each of them has.
For instance, there’re variable speed, laminate trimmers and cnc routers as well. But these are all under the two main types which are plunge and fixed base.
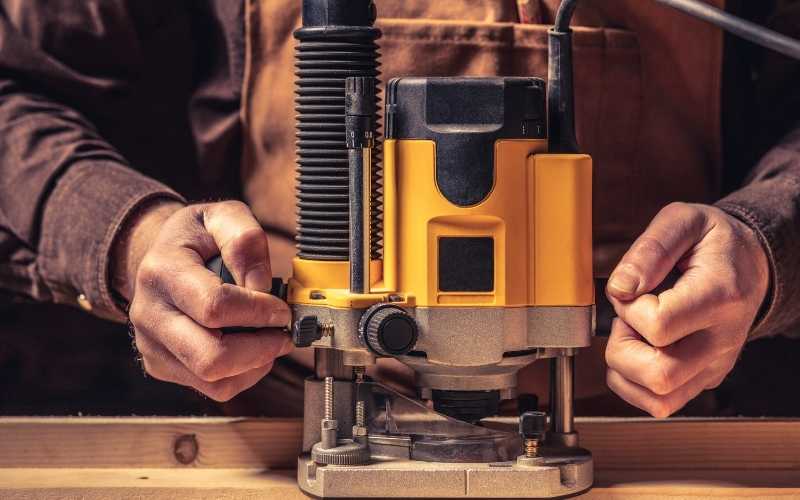
With the plunge-base router, you don’t need to set the cut depth before turning on the router. The base of the tool sits flat on the face of the stock being routed, the router is switched on, and the fast spinning bit is lowered into the stock.
That is why it’s called a plunge-base router because the base can be set flat on the work surface with the cutter plunging into the work when it’s lowered.
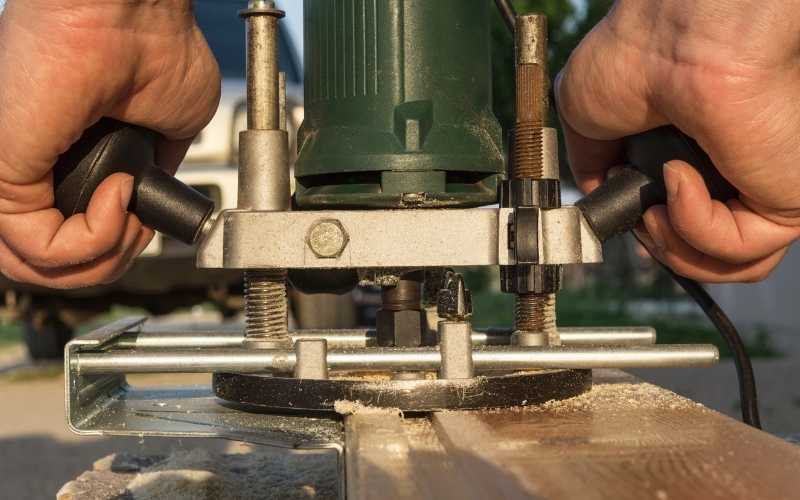
With the fixed-base router, the cut depth is set first before the motor is turned on, while one side of the base plate is rested flat on the stock overhanging the edge so that the cutter does not contact the stock until the motor is turned on and the cutter is slowly guided through the edge.
One can also plunge-cut or rout through the middle a work piece with a fixed base unit by placing the base or sole plate at an angle on top of the stock with the cutting bit above the stock.
The motor is turned on and the bit is slowly rocked into the stock to continue the routing.
What You Should Know About Router Cutters or Bits
No matter the type of router you have, no matter how expensive or sophisticated it is, it all means nothing without the right router bits.
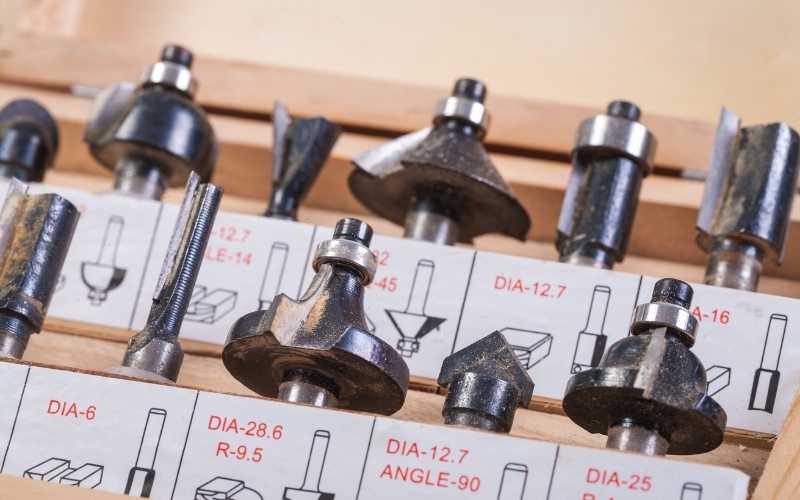
The bits you have allow you to create the shapes, profiles and patterns you want to create in your stock.
The more types of bits you have, the more sophisticated patterns, shapes and profiles you can create. So, when shopping for router bits, it’s better to just get the whole set so you have most of the commonly used bits you need at your disposal.
However, you don’t necessarily need all the bits, because there’re up to 16 thousand varieties of bits, and I’m not sure anyone needs all of them. Most of the time, you’re going to be using straight bits and round over bits. It all depends on the type of projects you’re working on.
Router bits are generally classified according to the materials they’re made of. There’re high speed steel (HSS) bits, carbide-tipped bits and even solid carbide bits.
Apart from this material classification, they’re also classified according to how they’re used as edge bits, non-edge bits and anti-kickback bits.
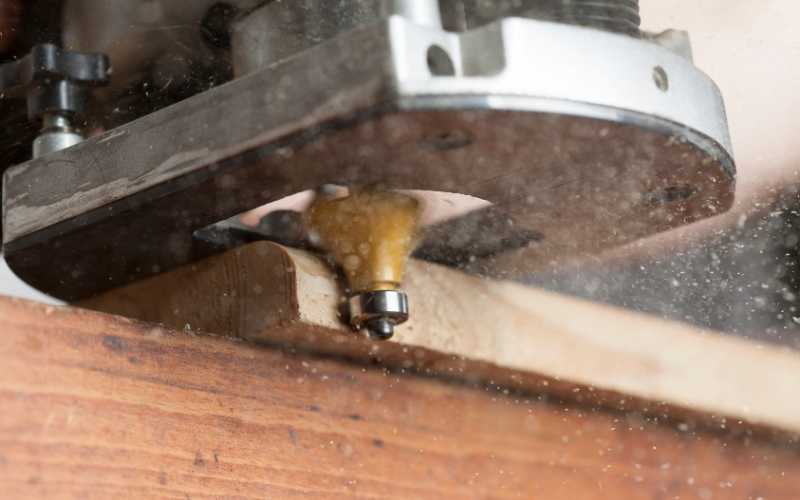
Edge bits are specifically designed for creating moldings with the bit featuring a small wheel bearing that rolls along the edge of the work piece and acts as a fence against the workpiece.
Non-edge bits are mostly used when the router is mounted on a router table because they require the use of a fence to guide the workpiece through the bit.
Router Tool Uses Every Woodworker Should know
Like I’ve mentioned before, if you engage in furniture and cabinet making projects, you’ll find the router one of the most used tools in your tool arsenal.
But what exactly can you use it for?
Cutting and Shaping Moldings
This is one of the fun and beautiful ways to make use of a router in any workshop. Its ability to cut different types of profiles gives you the ability to cut and shape any type of molding with it.
All you need is the correct bit, and the possibilities are limitless.
Cutting Grooves and Rebates
If you want to cut grooves and rebates, there’s no better tool you can use than a router. Grooves and rabbets are usually used during cabinet making for joinery for door and window jambs. All you need is a rabbet bit to get things going.
Smooth Out Edges
Whether the wood is straight or curved, you can use a router to cut and smooth out any rough edges on your stock.
Cutting Dadoes
Through dadoes can be made on a table saw when you equip the saw with a dado blade. A router however allows you to easily make any type of dado whether through or blind.
Creating Recessed Door Hinges
If you want the hinges of a door to be flush with the surface of the door edge, then you need to recess the hinges. Recessed door hinges function better and presents a more finished appearance, and that one of the many uses of a router tool.
You can use it to cut space for recessed door hinges.
Plane Wood
I didn’t think this possible at first, but it turns out, you can also plane and thickness wood with a router tool. All you need do is build a routing jig and mount it on the jig, and you can plane, thickness and even joint any stock of wood with it.
Related: How To Choose A Wood Planer For Your Projects
Cut Patterns and Designs
A router is the ideal tool for cutting patterns on wood, plastic or acrylic. Whatever pattern, design or shape you want, you can use it to trace the outline of the original piece in order to recreate that pattern on your stock.
Cut Inlays in Wood

Wood inlays allow you to add specific designs to your woodworking projects, maybe adding a logo, a mark or a symbol to further beautify your piece.
No matter the type or shape of inlay you want to create on your project, having a router around makes everything easy. You can rout or carve out the space for your inlay pretty easily with the routing tool.
Drilling
If you want to drill straight accurate holes in your stock, a router tool can get the job done too. Plunge-base units are best for this, but you can also use a fixed-based unit mounted on a router table for drilling through work pieces.
Hi can u demonstrate or show how to do a recessed door hinge.