
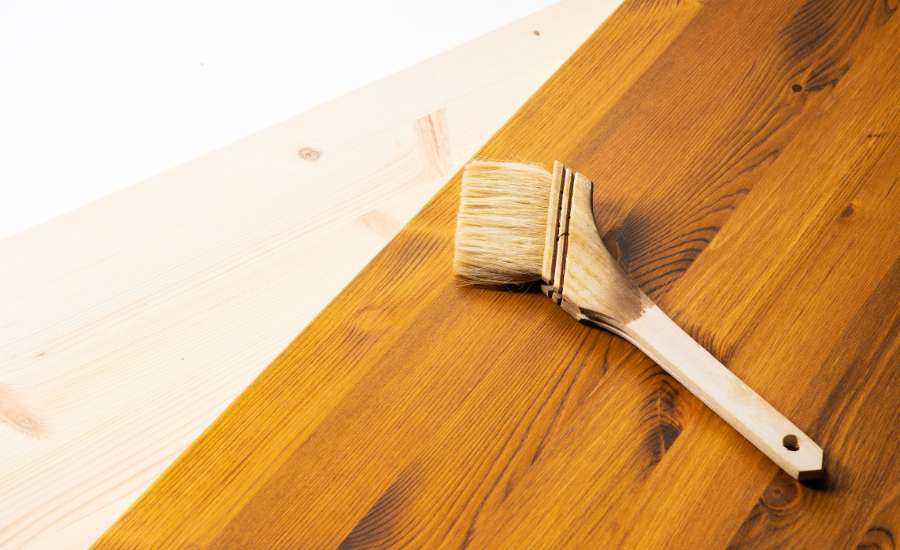
Wood stain is used to enhance the appearance of wood surfaces while preserving and highlighting the natural beauty of the wood grain.
Staining wood allows you to enhance the wood’s appearance while preserving its natural characteristics. Unlike paint, which covers the wood grain, stain penetrates the wood fibers, maintaining its tactile texture.
The goal is to bring out the inherent beauty of the wood while creating a harmonious blend between the new color and the grain patterns.
Stains come in a wide range of colors, from light to dark shades. This allows you to customize the color of the wood to match your design preferences or complement the surrounding decor.
You can experiment with different stain colors, application techniques, and layering to achieve unique and customized results.
Even though staining wood is a good practice, there is a wrong way and there’s a right way to do it. Do it right, and you’ll end up with the color and effect you want.
Do it the wrong way, and you might just end up ruining the wood and your project. And one thing about wood stain is that it’s not like wood paint.
You’re not painting over the wood. With staining, the wood absorbs the stain changing the wood color beyond the surface of the wood. The wood absorbs it like a sponge absorbs water.
So, you can’t just sand off the stain. It’s permanent and there’s no turning back once you’ve stained it.
With that said, here are 10 wood staining tips you need to know if you want to stain wood the right way and achieve the best result or the result you want.
Related: The Different Types Of Wood You Can Use For Furniture Making
Table of Contents
1. Wood stain is different from wood finish

You don’t have to stain wood to finish your project. A wood stain is different from a wood finish. A wood finish protects the surface of the wood from scratches, spills, UV damage etc.
On the other hand, a stain does not protect the wood it’s applied on. It only changes the color. Nothing more.
So, even after staining any wood, you still have to apply an appropriate protective wood finish to protect the surface of your wood project from damage.
2. Stain wood if you want to highlight the wood grain
Once you’re ready to finish your project, you’ll have to decide whether you want to paint it or stain it. Painting hides the grain and natural color of the wood.
On the other hand, staining wood highlights the grain of the wood and does not hide it. So, if you have a project that you don’t want the grain to get covered up after changing the color, then you should stain it.
Wood stain is composed of pigments and a solvent which is usually oil-based or water-based. The pigments interact with the natural color of the wood to create a new hue. For example, a light wood like pine might take on a warmer tone, while a darker wood like walnut might darken in color.
As the stain settles into the wood’s pores and adheres to different parts of the grain, it can make the grain lines, swirls, and patterns more pronounced.
The grains does not absorb stain uniformly across the surface. Softer parts of the wood in the growth rings, tend to absorb more stain than harder darker parts. This difference in absorption rates results in varying degrees of color intensity, highlighting the natural variation in the wood’s texture.
Related: The Different Types Of Wood Glues And Where You Can Use Them
3. Wood stain is permanent
I’ve mentioned this before. Unlike a wood paint which you can easily sand off, a stain penetrates the surface of the wood. So, you can’t undo it.
Once you’ve committed to a certain stain color, that’s it. You can’t go back. Hence, you have to be very sure of the color before applying it on your project.
A little tip is to apply that stain on rough piece of the wood you want to stain. If you’re okay with the color and result, then you can go ahead and stain the whole piece.
4. Sand the wood thoroughly before staining
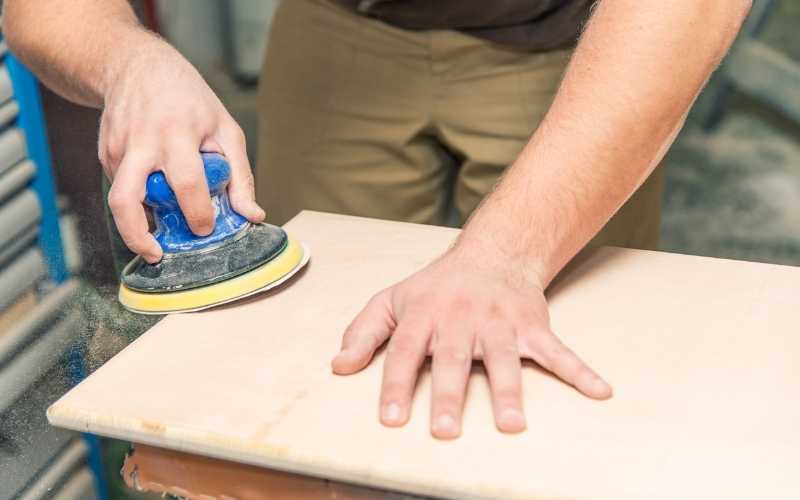
Without thorough sanding of the wood, the stain will distribute unevenly throughout the wood with some part taking more stain than other part.
The stain will enhance any scratch left on the wood. So use make sure to sand the wood so that the surface is perfectly smooth.
After sanding, remove any dust from it using a vacuum, as dust can also make the stain not to distribute evenly in the wood.
5. Don’t apply excess stain
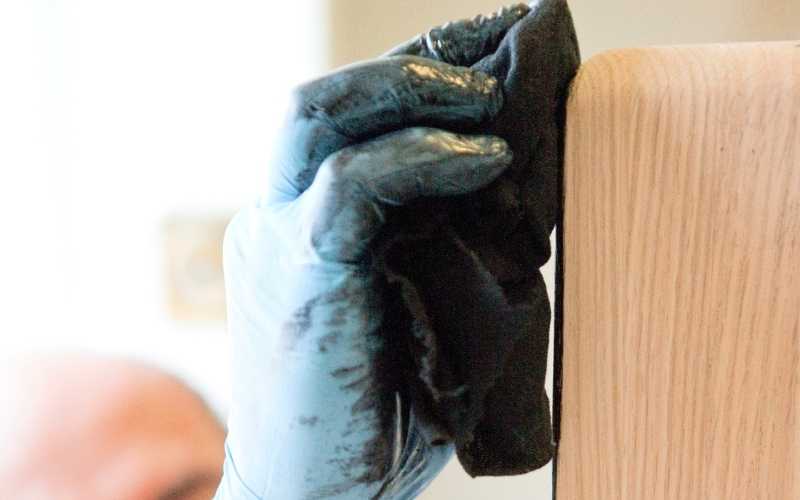
Any stain left unabsorbed usually takes a lot of time to dry off. So if you don’t want to wait a few days for it to get dry, always try to use the right amount of stain that can be absorbed easily.
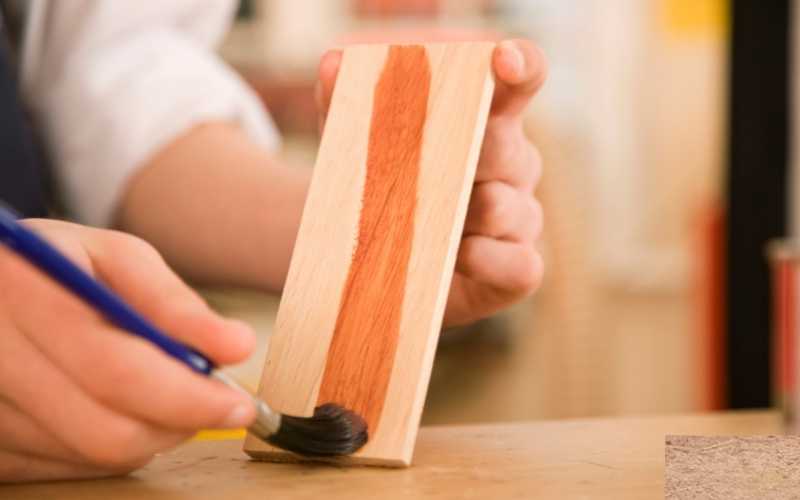
Use a foam brush or a rag which will help you to apply just the right amount of stain while wiping off any excess stain from the surface of the wood.
If there’s any excess stain left on the wood, don’t wait for it to dry. Always wipe it off with a clean dry cloth, else you’ll likely wait for a long time.
6. Apply a wood conditioner first
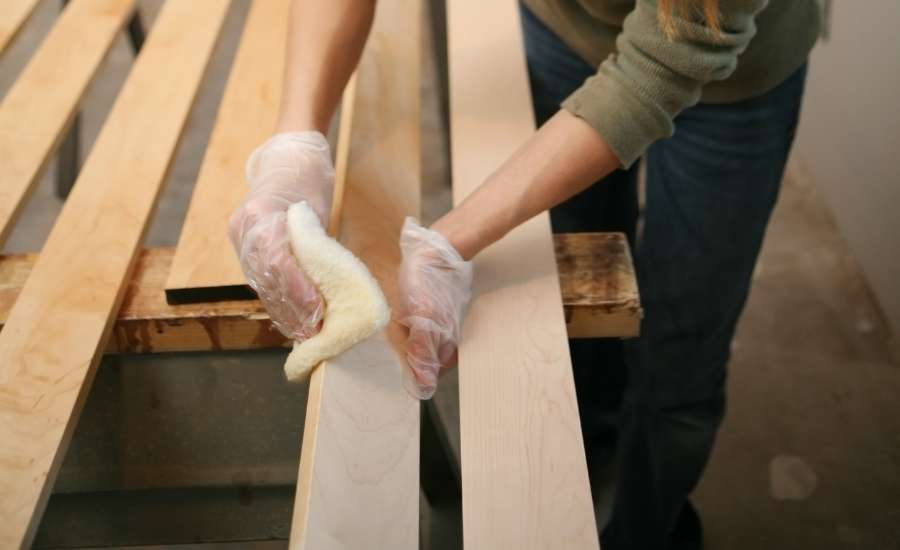
It’s important to apply a conditional first before applying the stain, especially when you’re working with softwood.
With softwood, the stain can end up getting unevenly distributed on the wood, even though you’ve sanded it thoroughly.
The solution to this is to apply a conditioner first before applying the stain. The wood conditioner will help prepare the wood surface to help the stain penetrate evenly and get your desired finish.
7. Allow the stain to dry
After staining, it’s important to apply a protective finish or topcoat to the wood surface. This further enhances the color and texture of the wood grain, creating a glossy or satin sheen. The finish also helps seal the wood and protect it from moisture, sunlight, and other environmental factors that can damage wood over time.
There are a wide variety of finishes or topcoats you can apply, which include varnish, polyurethane, lacquer, oil finish and wax. However, you need to ensure that the type of finish you choose is compatible with the stain and won’t affects it’s color or performance in a bad way.
Most importantly, you must ensure that the stain dries before applying the finish. You don’t want to apply a topcoat on a wet stained wood. Allow the stain to dry first, even if it takes a couple of days.
Once the stain is completely dry, you can use any type of finish on it, whether it’s an oil-based finish or a water-based finish.
Both will work if the stain is completely dry before you applied the finish. However, it’s always better to apply an oil-base finish over an oil based stain and a water-based finish over a water-based stain.
I tried staining my end tables just to cover up the scratches. They look awesome but they won’t dry. Still sticky after 3 days
How do I fix it.
It may be that the coat you applied was too thick. When staining wood, it’s better to apply several thin coats, allowing them to dry than one thick coat. It may also be that you didn’t sand your end tables down properly before applying the stain. Sanding the wood allows the stain to soak into the wood and dry properly. Without sanding it, the stain will just sit on the surface and will still remain sticky after several days.
To remove the excess stain, just apply a fresh coat of stain, allow it to soak in for a few minutes then use a cloth dampened with mineral spirits to wipe off the excess stain, leaving only the stain that penetrated the wood.
If all the stain comes off when you wiped it with the clothe, then you probably didn’t sand the tables down before you applied the stain the first time. This prevented the stain from soaking into the wood.
If this is the case, then you should wipe off all the remaining stain with mineral spirits, allow the table surface to dry, then sand it down to bare wood.
Now, you can apply one or two fresh thin coats of stain on the surface, and it will soak right into the wood.
Follow the process just as explained here, and your tables will dry up in no time.
I hope you find this helpful, Sharon.
Hi,
My painter has just finished staining my staircase. He did 3 coats and a final coat of polyurethane satin. My staircase looks so uneven and patchy it’s horrible, it’s light and dark in areas and we can see heavy brush strokes. What is the best steps to take to get a beautiful even colour? Please help!
It depends if the entire staircase looks horrible as you described. If it’s just some spots, then you can correct those spots to blend with the surroundings. But if the entire staircase is bad, then you have to redo the entire staircase.
Since your painter didn’t do a good job, then it’s recommended that you hire someone else to do it for you. Maybe ask your friends to recommend a professional for you.
What he/she’ll do is to re-sand the entire staircase to lift off the stain. Apply a wood conditioner so that the stain can get absorbed evenly once it’s applied, then he’ll follow up with an appropriate wood finish to protect the stained surface.
If you want to do it yourself, the process is still the same.
I just bought some unfinished furniture. Do I still need to sand it before staining?
Here’s what I think you should do. Stain a very small part of the furniture. Wait for it to dry and see the result. If you’re okay with the appearance, then you can stain the whole piece.
If you’re not okay with the appearance of that small part you stained, then sand the whole furniture and apply the stain properly. Sanding helps the wood absorb the stain evenly. Remember to apply a wood conditional first before applying the stain, and don’t apply it in excess.
I am in the final process of finishing my kitchen with wood butcher block maylasian white oak countertops. Ive read so much on how to stain but less on the best product. Ive already tried old masters gel and aniline wood stain. the aniline scares me as it dries super fast and I have 8 and 10 foot lengths to stain, but i haven’t liked to colour of the gel. got any suggestions?