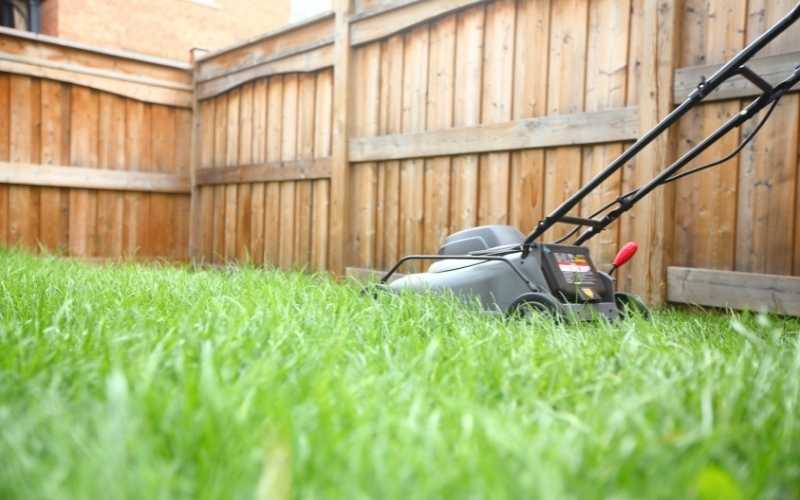
Lawn mowing is one of the most important tasks around the home. If you don’t cut the grasses in your yard, they overgrow, and it looks bad on you as the homeowner. Worst of all, it decreases your curb appeal, making your home look odd in the neighborhood.
On the other hand, if you take the time to mow your lawn regularly, and keep the grasses at the appropriate height, it encourages the lawn to grow better, healthily, lush and green, making your home look better.
Some people pay professionals to mow their lawn, while others like myself like doing it themselves. The drawback of doing it yourself is that, you might end up doing it wrong.
You see, there’s a right and wrong way to cut grass. Lawn mowing is not all about owning and mower and pushing it through your turf. It requires a few tips, tricks and techniques to get the perfect cut.
If you don’t know these tips, you might encounter problems like cutting the grasses too short, mowing at the wrong time, using the wrong equipment and much more.
Mow it wrongly, and you might end up causing more damage than good, which leaves it susceptible to the elements, resulting in a dry, patchy and withering lawn.
So, if you want to carry out this important task by yourself but you have very little knowledge or experience on how to get it done the right way, then continue reading as I’ve compiled 12 expert lawn mowing tips you can implement right now to get the best results.
Table of Contents
Lawn mowing schedule – Timing and frequency

One of the first questions you need to answer before you start is: when should I mow my lawn?
Obviously, you can’t just mow it every day or anytime you want.
Timing is very important when it comes to cutting your lawn grasses. As regards to seasons of the year, you can mow it every season of the year from spring to autumn. But when it’s winter time, you’re going to have to leave it to hibernate.
Just like every other plants in your garden, your lawn temporarily stops growing during the cold winter months.
So you need to suspend any attempts to mow it during those periods, and start again when spring approaches and it starts growing again.
You have to be very careful though and not hurry to mow it as soon as spring starts. At that time, the grasses are still very tender, and you might end up damaging them.
Instead, wait until the temperatures outside are above the 10 degree mark and there’s no more frost on the plants. Then you can start mowing it again.
Before winter though, you need to ensure you mow it one last time before it rests through the winter months.
This should be done just after the first night of frost. If snow falls where you live, then you should mow your lawn a little bit shorter than usual to prevent it from getting squashed flat by the falling snow.
Also remember to collect the grass clippings after mowing it to prevent them from freezing on top of the lawn.
Related: Lawn Striping Guide – Pro Tips For The Best Stripe Pattern
Mowing Frequency
Now that you know when you should mow your lawn, the next question is the frequency. How often should you mow it?
Plants including grasses grow faster in the spring, and thus your lawn will need more cutting during this growing season.
You should try to mow it once very week.
In the summer, the weather is hotter or warmer and the grasses will not grow as fast as in the spring time. Thus, you should cut it once every two weeks.
Cutting it more frequently than that will make it vulnerable and exposed to the hot summer heat, which might weaken and scorch it.
In the autumn, it will start raining again and your lawn will start growing faster, though not as fast as in spring. You should mow it once every week just like in spring, but you should exercise discretion based on how often it rains and the temperature outside your home.
Don’t leave your it to overgrow, but if it inevitably does, you might need to mow it in two or more stages. Follow the instructions here for cutting an overgrown lawn.
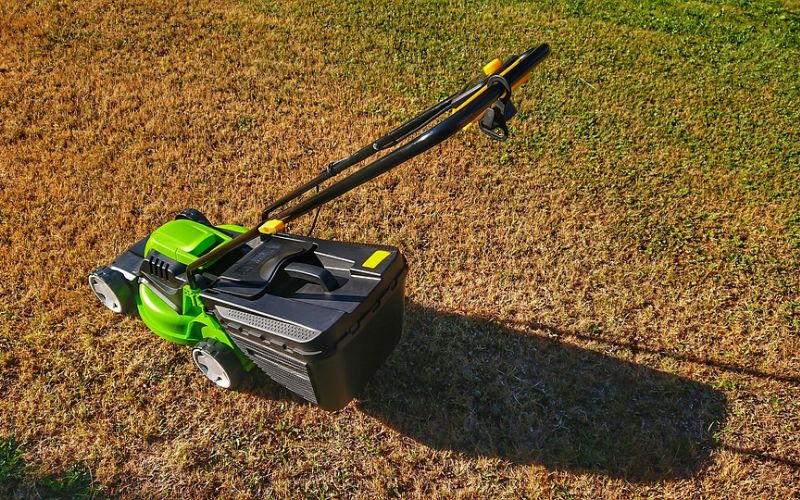
Don’t mow a wet lawn
Your lawn mower will not do a neat job if the grass and soil underneath is soaked with water. No matter how sharp your mower blades are, it will not cut the grasses clean. Instead, it will leave rough edges, the clippings will clump up because they’re wet and will suffocate the lawn.
In fact, wet grass will even dull your mower blades faster. That’s why it’s important to only mow when your turf is dry. After a rainy day, wait till a day or two after there’s enough sunshine and your turf is dry and ready for a neat cut.
Edge your lawn
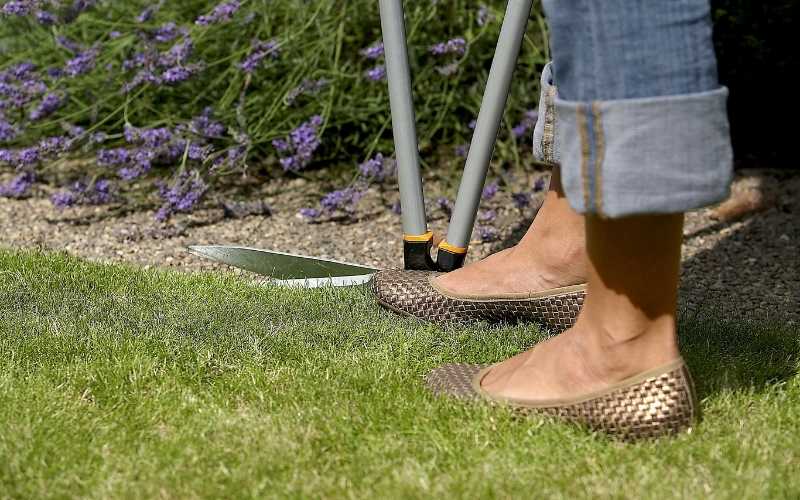
Edging is a very important step to take after mowing your lawn. It will help beautify the lawn, define the boundaries and increase the overall curb appeal of your property.
Leaving the edges unattended can make the whole turf look uncared for and untidy. If you really crave that professional look and finish, get a suitable edger and get to work.
Edge along your driveway and walkways, around trees, flowers and patio to produce a finish even a pro will envy.
Automate your lawn mowing
Mowing your lawn on a regular basis can get tiring and a bit boring, especially if you’re the only one doing it. Sometimes you may not even have the time for it due to other activities taking encroaching.
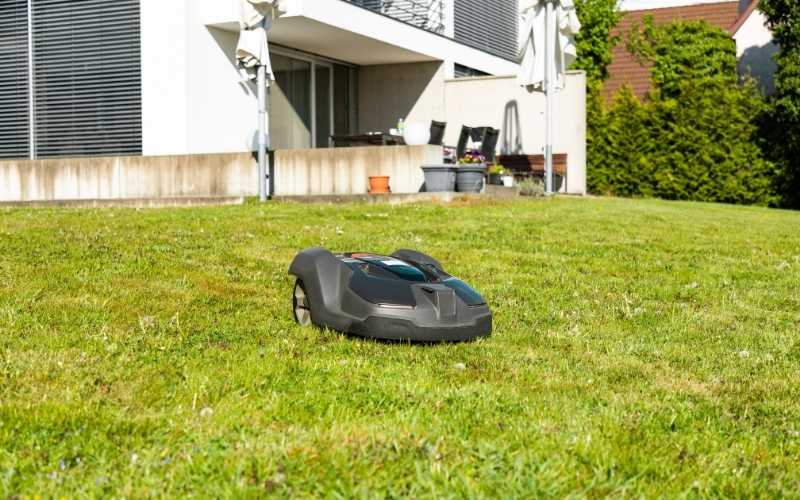
In this case, you may need to hire someone else to cut it regularly, which can be a bit pricey over the long run. On the other hand, you can automate it by simply getting a robotic lawn mower to do the job.
A robotic mower can even mow your lawn at night when everyone is sleeping, and it’s not noisy like normal gas mowers.
When installed properly, a perimeter is set around your lawn with guide wires that prevents it from moving beyond its boundaries.
This will free up time for other activities and at the same time keep your lawn in top condition all year round.
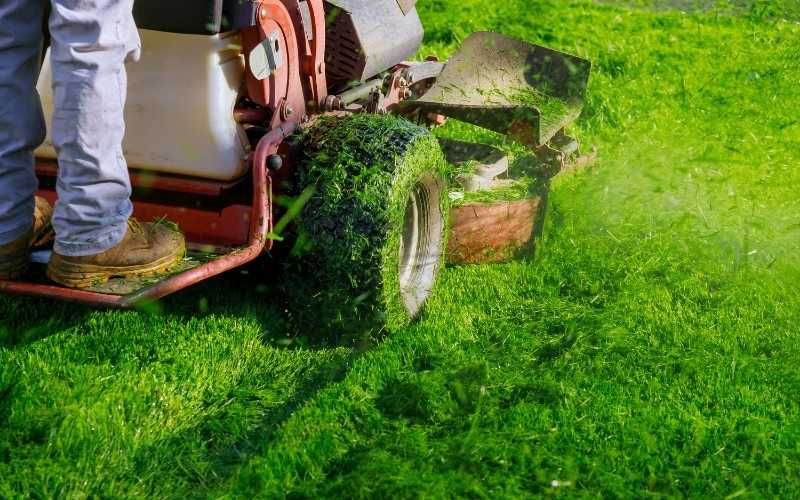
Grass clippings can either help or harm
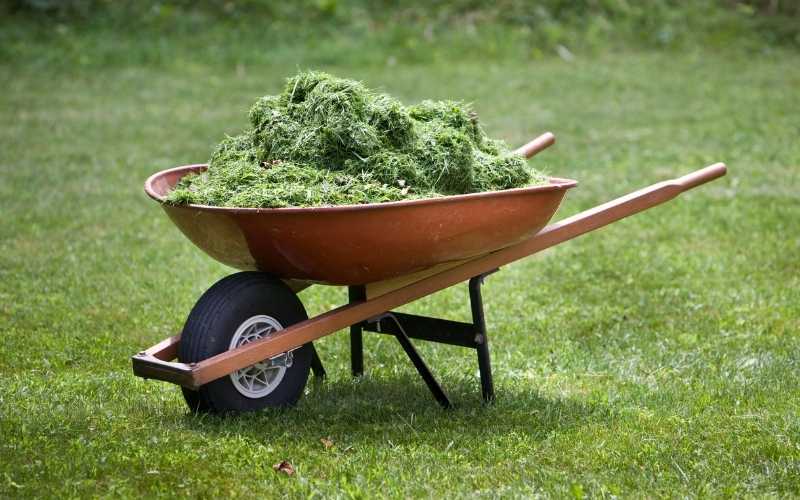
If your lawn is overgrown, it’s important to bag your grass clippings when restoring your lawn to its former state. Piles of long grass clippings will not break down on time, and can smother and suffocate your lawn.
On the other hand, if you mow frequently and the clippings your shave off the lawn are small, you can leave them on the lawn.
Small grass clippings usually break down quickly and returns beneficial organic nutrients to your turf, helping it grow better.
How high or how low should you cut your lawn grasses?
Among other things, your lawn cutting height should be your concern if you want a lush, thick, green and healthy lawn.
Cut it too high and it might not look attractive or suitable for the kind of activities you plan to carry it on it. Cut it too low and you risk it getting scorched by the sun and turning it brown.
Mainly, the cutting height is usually based on two important factors.
First is the weather or climate of the area where you live. Second is the kind of activities you plan to carry out on the lawn.
If it rains frequently where you live and the weather is mild, then you can cut the grasses as low as 2 cm in height because they will definitely be growing pretty quickly.
On the other hand, if the weather is hotter and drier, then you should not cut it too low for fear of it being scorched by the sun.
Lawn mowing height based on level of activity

The type or level of activities you carry out or plan to carry out on your lawn is a major factor that should determine the cutting height.
If you plan on using it as an outdoor room for entertaining friends and hosting barbecues, then it’s ideal to cut it a bit shorter than usual to make it comfortable for guests to work on and move around.
As a playing field for sporting activities such as football, cutting it to a medium height will look and feel just fine especially for someone who falls down from playing on it.
You should cut it so that it’s short enough to allow kids to run freely on it, but also long enough to act as a light cushion should someone fall while playing on it.
How to mow areas of your lawn that are shady
Shady areas of your lawn do not receive enough sunlight as the sunny areas. Thus, it’s necessary to allow these shady areas to grow a bit longer before cutting the grasses there.
Mowing it too frequently can end up killing the grasses in that area as they don’t get much sunlight and absorb much energy as the areas exposed to direct sunlight.
How to mow a sloppy lawn
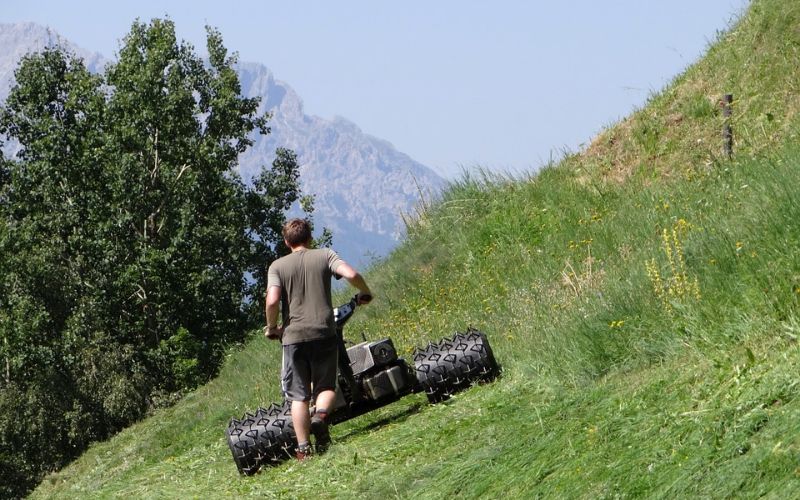
Mowing a lawn can be quite tricky if it’s on a slope, but a perfect cut can still be achieved. To mow a sloppy lawn, push or ride your mower perpendicular to the gradient of the slope.
Doing this will ensure even cutting of the grass, and will also ensure that you’re moving on the same level of the slope as your lawn mower.
You don’t want to be pushing or riding the lawnmower up or down the slope. If you’re using a push behind mower, pushing it up the slope will make you exact more force and energy to push it upwards and might even cause an accident if the mower were to fall backwards towards you.
Instead, mow perpendicular to it to stay at the same level as the mower and achieve a neat even cut of the grass.
Your mower affects your work
There are different types of lawn mowers, with each one varying in size, function, power source, capacity and ease of use.
The type of lawnmower you choose can affect a lot of things from the quality of the cut to the time it takes you to mow the lawn and even the amount of energy you expend.
If you don’t know much about lawn mowers, then read our guide here to learn everything you need to know before choosing your first one.
How to achieve a beautiful and evenly cut lawn
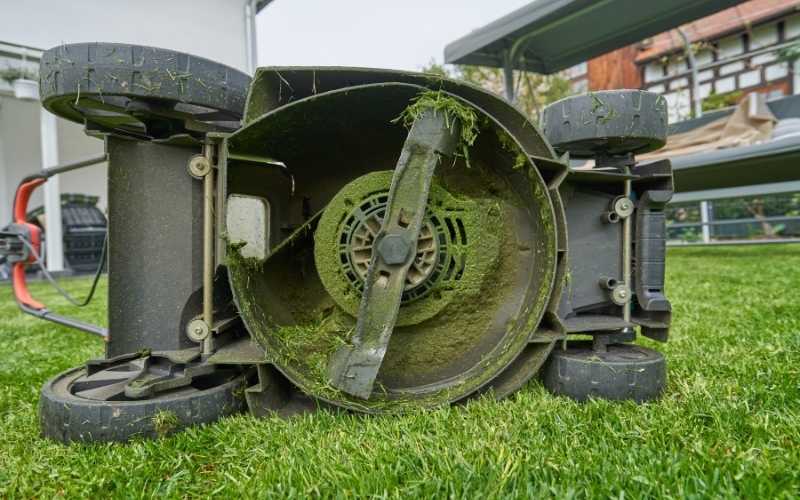
Getting a beautiful and evenly cut lawn depends on two main factors which you can easily control. The first is the condition of your lawn mower blades.
Dull blades don’t cut of the grass cleanly. They frail the ends of the grass which weakens it and makes it turn brown quickly.
Ensure that the blades are sharp and are in good condition before using the mower.
The second factor that will affect the condition of your lawn after mowing it is the way you control the mower.
You don’t want to be mowing in zig-zag patterns. Instead, mow along a straight line with one tire of the mower overlapping the uncut side.
This will create a beautiful and evenly cut lawn that will look pleasing to anyone that sees it.
As we mentioned earlier, lawn mowing can be quite tricky for someone who has not done it before, but with the tips presented in this guide and a little bit of practice, anyone can turn a rough looking lawn into a beautiful one.