As a beginner woodworker, operating a table saw can be quite intimidating, but after learning the tips in this article, you’ll be more confident of operating one.
Getting to use new power tools is always exhilarating especially for a beginner. It’s something you look forward to. But with the excitement also comes with a sense of doubt.
It’s like buying your first car. You’re excited, but also a little intimidated about how you’re going to drive through the busy traffic in town.
However, one of the best things you can do for your own sake before you even get any power tool or equipment is to learn how to handle them properly.
Cool down all the excitement and learn everything you need to know about it, because power tools can be dangerous when handled improperly or carelessly. Apart from that, learning about the tool and respecting it will allow you to use it more efficiently.
That is why this article is all about table saw tips. With my experience, I’ve written it so that you can learn all the important and fundamental aspects of a table saw, which in turn will help you handle the tool respectfully, and ultimately get the best results with the projects you undertake with it.
Table of Contents
1. Unplug the saw from the power socket
Before making any kind of adjustment, such as squaring or changing the blade, adjusting the fence etc, always make sure the saw is unplugged.
You don’t want to accidentally turn on the saw when your hands are still on the blade.
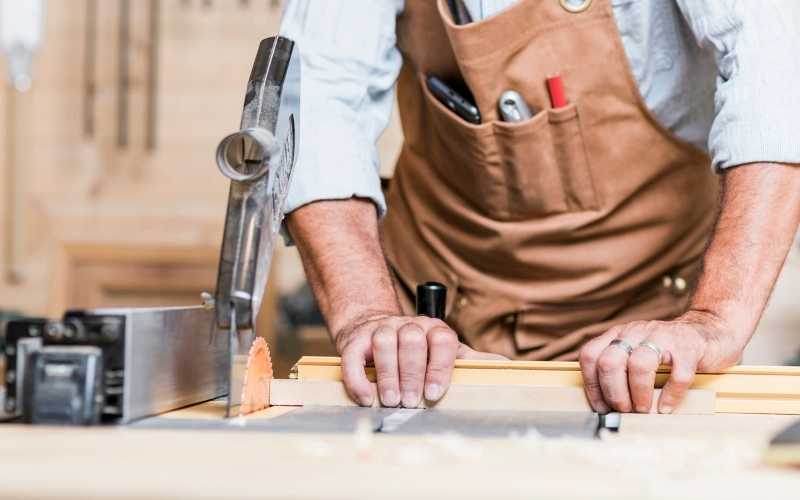
2. Keep your balance before making a cut
There’re no mistakes when using a table saw, because a simple mistake can cost you a finger or worse. So, once the saw is setup and you’re ready to make a cut, always try to keep your balance.
Don’t stand in an awkward position. Make sure you have very stable footing before making the cut. Try to envision where your hands will be throughout the process of making the cut before making the cut.
3. Allow the blade to come to rest
After making the cut, always allow the blade to come to rest before retrieving the cut off piece. Don’t try to reach over the spinning blade with your hand to retrieve the piece. A little misstep can end badly.
Related: The 10 Best Table Saws In 2022 – Reviews And Guide
4. Take it outside
If you’ve got a tiny cramped workshop and you bought a portable table saw, then you’ve got to take it outside any time you want to make cuts.
You don’t want to operate it inside a very cramped workshop. Operating a table saw properly requires ample space around the machine.
Remember, like I said above, you want to keep your balance at all times when making cuts. You don’t want to take any awkward posture when making these cuts, and operating your saw in a cramped workshop will not help you keep your balance. So, you’ve got to take it outside.
5. Make use of accessories
Buying a phone is awesome, but not buying necessary accessories like a screen guard and a casing can end in disaster when it falls down.
Same with buying a table saw. It’s very good, so is buying push sticks to go along with it. They’ll save your fingers.
A feather board will help guild your stock and keep it aligned with the blade and fence when making cuts. And upgrading your blade will definitely make your cuts a whole lot cleaner.
There’re many accessories you can buy along with your table saw to make using it easier and safer.
6. Upgrade the blade for better performance
As with many other saws, the blades that come with a table saw can be very mediocre even though you buy the best possible model.
If you just want to make simple DIY projects at home, then this blade will do just fine for your projects. On the other hand, if you want to make furniture or work on fine woodworking projects that require clean precise cuts, then upgrading your blade is a must.
Upgrading to an aftermarket blade like a 60 tooth Freud blade will leave you with a much nicer and clean looking cut each time. The wood will go much easier through the blade and your cuts will be much more precise.
Related: Types Of Saws You Can Use For Your Projects
7. Install the blade with the teeth facing you
Installing your table saw blade correctly is one of the first things you must know. When you switch it on, the blade and arbor assembly is designed such that the rotation of the arbor spins the blade anti-clockwise towards you the operator.
You should install the blade so that the teeth are facing you. If you’re in doubt, check the direction of the arrow drawn on the blade. The arrow should be pointing towards you when you install the blade.
Installing it with the teeth facing towards you will ensure it works properly and cuts through your work-piece with ease.
Related: 7 Different Types Of Table Saws You Can Choose From
8. Keep the off switch closer
As important as knowing how to switch on your table saw is, knowing how to quickly switch it off is even more important.
In case of any unexpected incident, you should be able to quickly switch of your saw. So, when making cuts, you need to be in a position where switching it off will not require you the use of your hands which are already on the work piece.
Most models nowadays come equipped with off switches that you just have to bump with your kneel to switch it off.
In case yours doesn’t come with something like that, you can always upgrade to an aftermarket On/Off safety power switch like this one from Ortis.
When you install this kind of switch, you can position it anywhere close to you when operating your saw, so you can easily turn it off without taking your hands off your work-piece, just by bumping your knee or your hip against the switch.
9. Use a square to square the blade
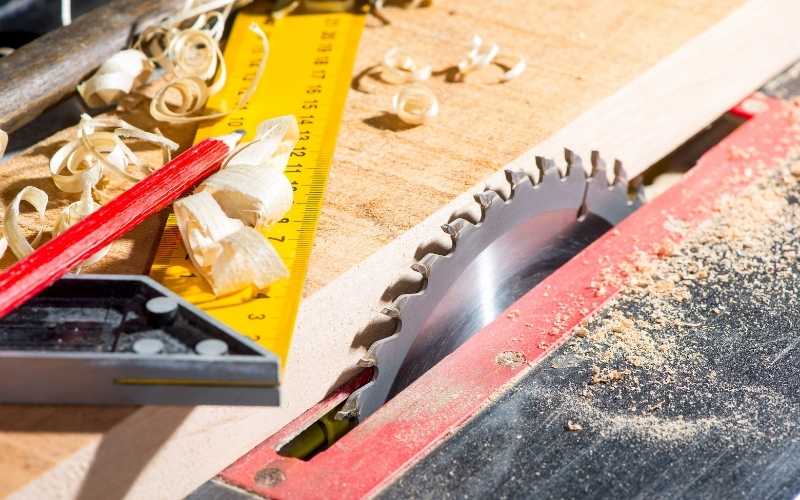
Before making any type of cuts, you need to ensure the blade locks in at 90 degrees to the table. There’s usually a gauge at the top of the table to show you the bevel of the blade, whether it’s at 90 degrees or not.
Most of the time, depending on the model and quality of saw you have, that gauge is usually not accurate. So, always use a square to check if the blade is square or at 90 degrees with the table.
10. Always use a riving knife when making cuts
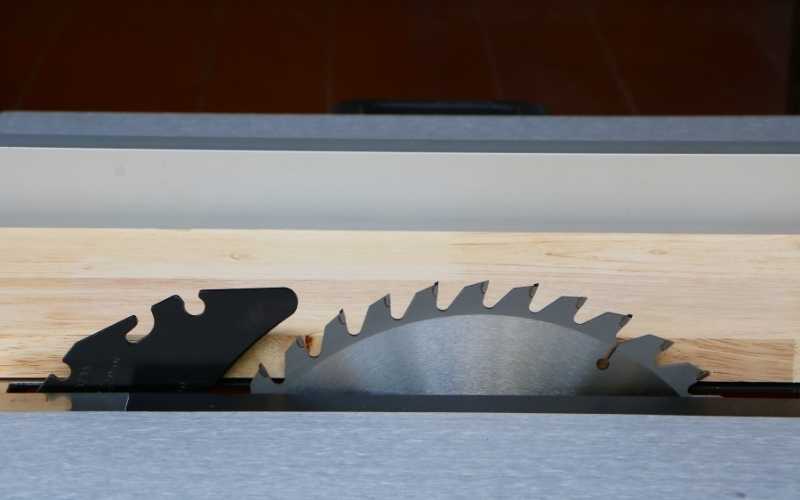
A riving knife is one of the few accessories that will come with your table saw and it’s one of the most important ones.
You should never try to cut anything without the riving knife installed, because it ensures the blade does not bind with the work-piece which can cause kickbacks to occur.
So, never cut materials if the riving knife installed.
11. Use a digital angle finder
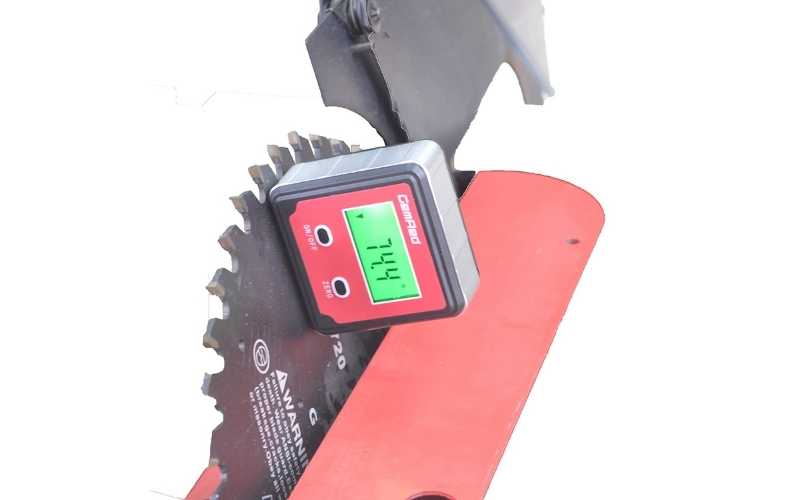
Bevel cuts can be made on a table saw, and like I said earlier, there’s usually an analog gauge at the top of the table to show the bevel angle of the blade.
That gauge is not very accurate, so get yourself a digital angle finder to read the angle of the blade before you make any bevel cut.
Get one with a magnetic base, so that you can just place it on the side of the blade, it will stick to metal blade and show the bevel angle so you can adjust your blade accordingly.
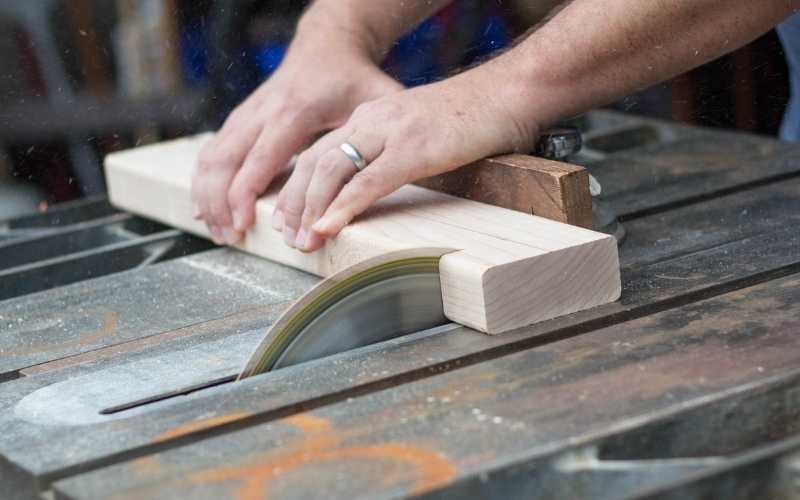
12. Make repeat cuts with your miter gauge
Sometimes you need several parts of your woodworking project to be of the same size, which means you need to cut pieces of the same size on the table saw.
Making this kind of repeat cuts can be done using the miter gauge. Just screw a long piece of board to your miter gauge to make it longer, with one end of the board right at where the blade is, so you don’t cut through it.
Then clamp a smaller scrap board to the miter gauge right at the size where you want your boards to be. Place your long workpiece against the scrap wood and make your cuts, and all the pieces will come out at the same length.
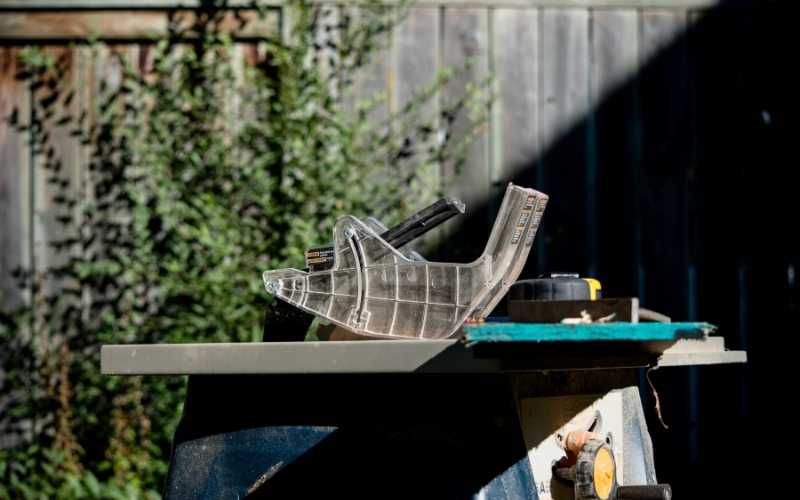
13. Always use the blade guard especially if you’re a newbie
Most people, especially experienced woodworkers dish the blade gaurd when making cuts on their table saw.
But you’re not that experienced, so you shouldn’t do that. The blade guard is an important safety accessory that will prevent your hands from coming in contact with the blade through the sides or from above.
So, whether you’re a newbie or not, it’s advisable to always use it when making cuts on the saw. An exception to this is when making use of a dado blade or insert.
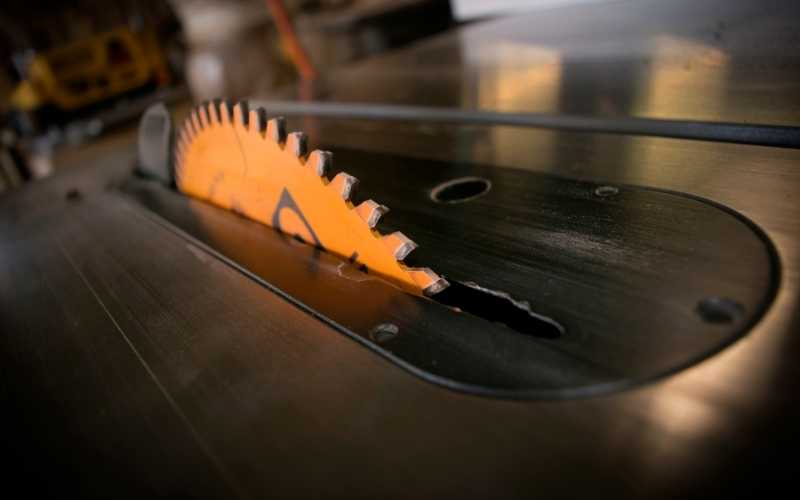
14. Use a zero clearance insert when cutting tiny pieces
That part on the top of your table saw you have to screw off to access the blade is called the throat plate or insert.
The one that comes with the saw usually have some space or clearance around the blade meant to allow making of bevel cuts, but when you’re cutting really small pieces of wood, they can fall in between the blade and the factory supplied insert.
This can cause the blade to launch the small piece of wood back across the room or worse yet, at you.
Factory supplied inserts with wide clearances can also cause tear outs when making cuts, as there’s no support of the wood close to the blade where the cut is happening. The lack of support causes these unwanted tear outs especially on thin pieces of plywood.
To prevent the above, you need to get yourself a zero clearance insert plate. With this insert, there’s very little clearance between the blade and the insert, which prevents small wood pieces from getting in, and also provides ample support for the wood, preventing any form of tear outs from occurring.
15. Connect a shop vac
Dust collection is very important when using a table saw, because lots of dust is produced when you cut wood.
Without a suitable means in place to collect this dust, it will form a huge mess in your shop at the end of the day.
So, hooking up a shop vac or any other suitable dust collector is an important table saw tip you should know to keep the dust off your shop.
16. Upgrade your miter gauge
The miter gauge that comes with your table saw will usually work fine. It will help you support the work piece or material across the table when making cuts, especially cross cuts and miter cuts.
Upgrading it however will get you even more functionality out of this seemingly simple tool. There’re few aftermarket miter gauges you can go for, but my personal favorite is the Incra miter gauge.
This will help you make cutting even the most complex miter angles seem easy. If you have the means, try to get one for yourself. You’ll thank me later.
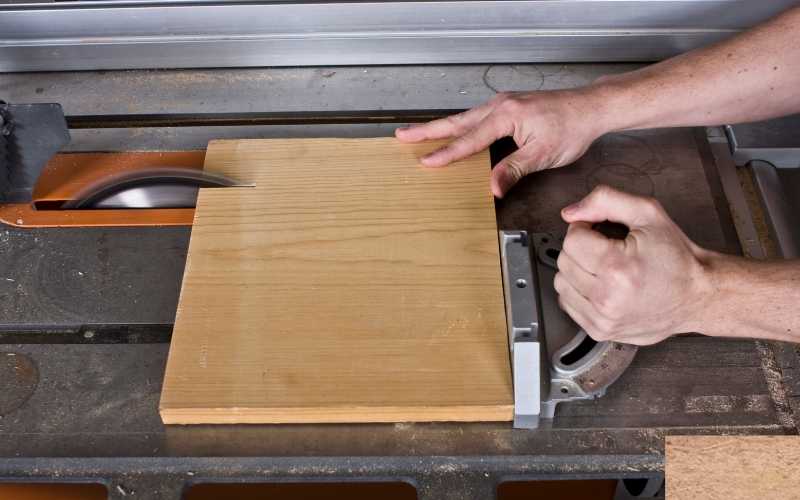
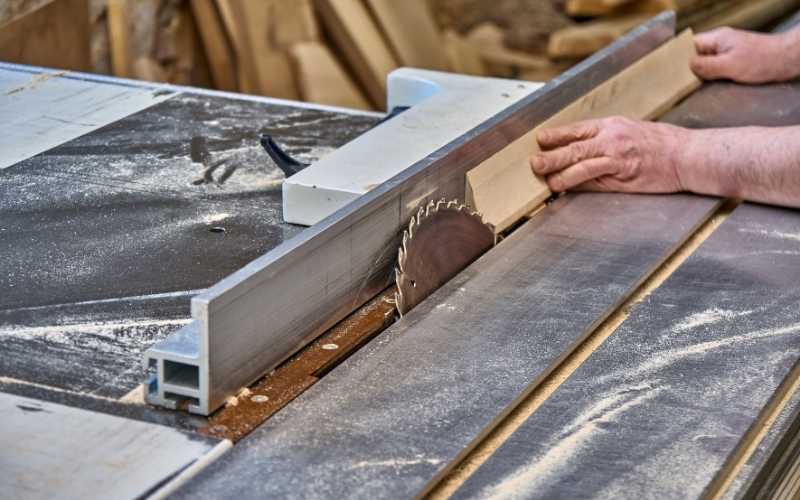
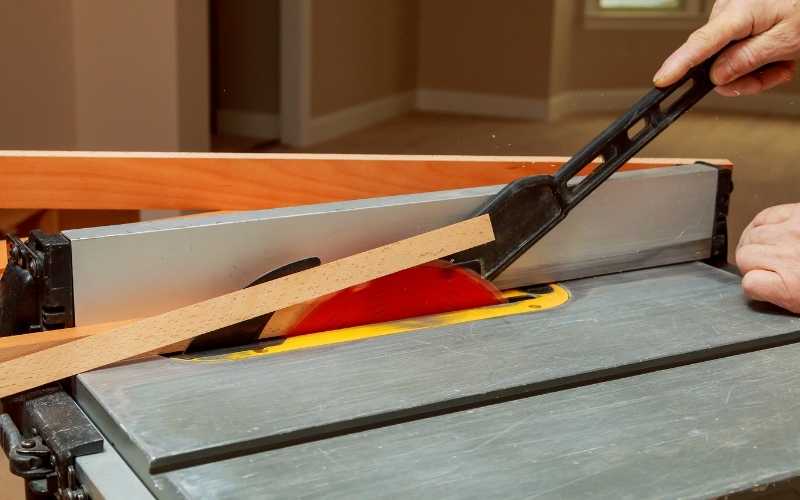
17. Always support the material being cut
There’re two parts on the table saw for material support. The fence and the miter gauge. The fence is for supporting and guiding the work piece through the cut when making rip cuts, while the miter gauge is for supporting work pieces when making cross cuts and miters.
You should never try to freehand cut work pieces without the support of either one of the two. You should also not try to cut workpieces while using both the miter gauge and fence at the same time for support.
When making rip cuts, or cutting wood lengthwise along the wood grain, you should use the fence, and leave your miter gauge out of the equation.
Same thing applies when making cross cuts, or cutting wood pieces across the width or grain of the wood. You should use the miter gauge here and leave the fence out of the equation.
Cutting while supporting the piece with both fence and miter gauge can cause the wood to get caught between the fence and the blade which can cause kickback.
18. Table saws can be noisy
The sound of a saw blade tearing through wood can be deafening and not one of the more pleasant sounds to hear. In fact, it’s noise.
Depending on the quality of the one you have, some are even noisier than others, especially the portable models.
Cabinet models are less noisy, because the saw mechanism is enclosed in a cabinet base which mutes the noise to some extent.
Portable or contractor style machines have mechanisms that are more exposed and thus produce more decibels of noise.
Make sure to get hearing protection when operating these machines.
19. Always use push sticks or push blocks for making rip cuts
Push sticks are very important safety accessories for use with table saws. Your hands should always have minimum space of 6 inches away from the blade for obvious reasons. Using push sticks will help ensure this, ensuring your hands are far away from the blade, especially when cutting very tiny pieces of wood.